Omelets

Like Jenny Rosenstrach, the author of the wonderful Dinner a Love Story blog and it’s companion cookbook (which I devoured on Saturday while waiting in line at Politics & Prose to meet the equally fantastic mystery writer Tana French), I keep a dinner diary. Actually, a diary is a great idea. What I keep is a loose collection of papers, each of which lays out the menu for two weeks worth of meals.

Every week there are nights on the dinner schedule that just don’t happen the way they’re supposed to. A broken oven delays the creation of this lovely casserole. Obscenely ripe tomatoes prompt me to make Alice Waters’ tomato sauce ahead of schedule. I forget to take meat out of the freezer before leaving for work. Again.

Nights like this give us three options. We can order in, go out, or make omelets. Since we prefer to save our nights out for the weekend, and because I still haven’t found a good Chinese take-out near Courthouse, we eat a lot of omelets.

But, hey, who’s complaining? There’s absolutely nothing wrong with a good omelet. Growing up, we had omelets every few weeks. Along with “Spanish” Rice, they were my mom’s go-to, quick and easy dinner for hectic weeknights of dance class, forgotten school notebooks and impending spelling tests. We ate thick omelets, filled with gooey cheese and fresh tomatoes, served along-side deliciously crispy frozen fries or tater-tots.

Dan makes his omelets differently, the same way he makes his stir-fry, throwing everything into one pan, letting the cubed Swiss cheese mix with diced turkey breast, sliced mushrooms and (always) crisp bell peppers. The resulting creations (more closely related to frittatas than the classic omelet) are intimidating, but always delicious.

Which is to say, there is no wrong way to make an omelet. There is, however, a right way. Julia Child’s way. Mastering the Art of French Cooking, is rightly regarded as a masterpiece, but for my money The Way to Cook is her most helpful book for the novice or intermediate home cook. In it, Julia walks you through roasting a chicken, composing a salad, and, of course, making an omelet.

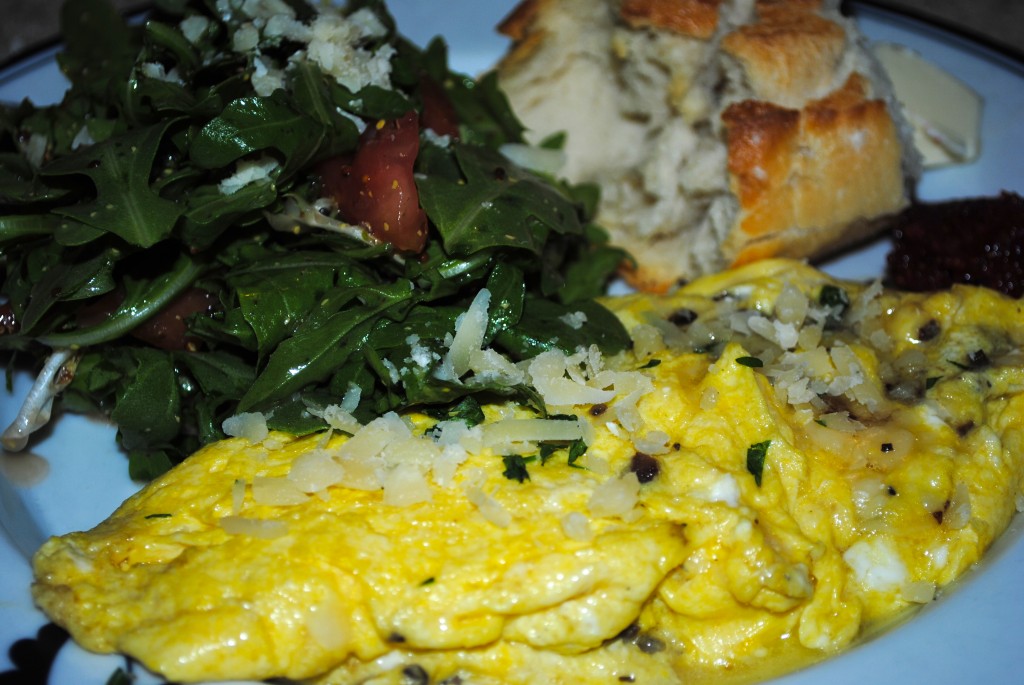
Julia’s omelets are classically French. I (try to) use her technique, but I do tend to branch out a little in terms of filling. The following omelet, from a night we were supposed to have chili, uses shallots and mushrooms along with parmesan cheese. I’m sure it would be delicious with some diced bacon as well, but the whole point of omelet night is not to go to the store. Feel free to play around with fillings and toppings. Parsley is always marvelous. Elephant & Castle in New York does a lovely smoked salmon version. But hey, throw whatever you want in there. And don’t worry too much about the technique. Worrying about dinner isn’t allowed on omelet night!

Ingredients – Serves 1

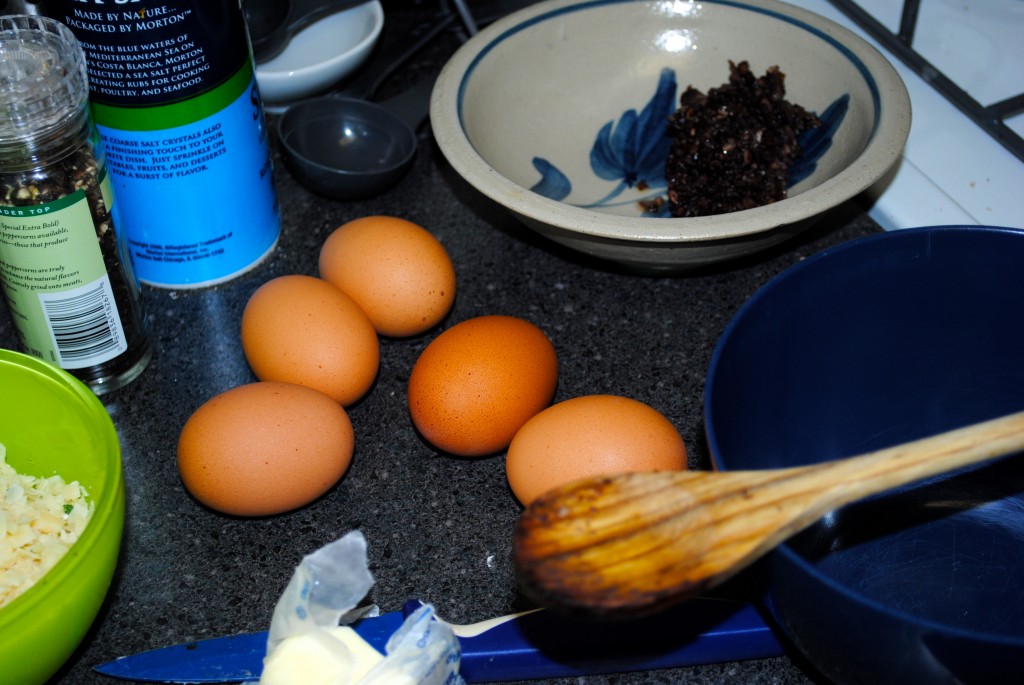
2-3 eggs
1 tablespoon water
2 mushrooms, finely diced
½ a shallot, finely diced
1 tablespoon butter, divided use
1 tablespoon red wine
¼ cu. grated Parmesan
Chopped fresh parsley, for garnish

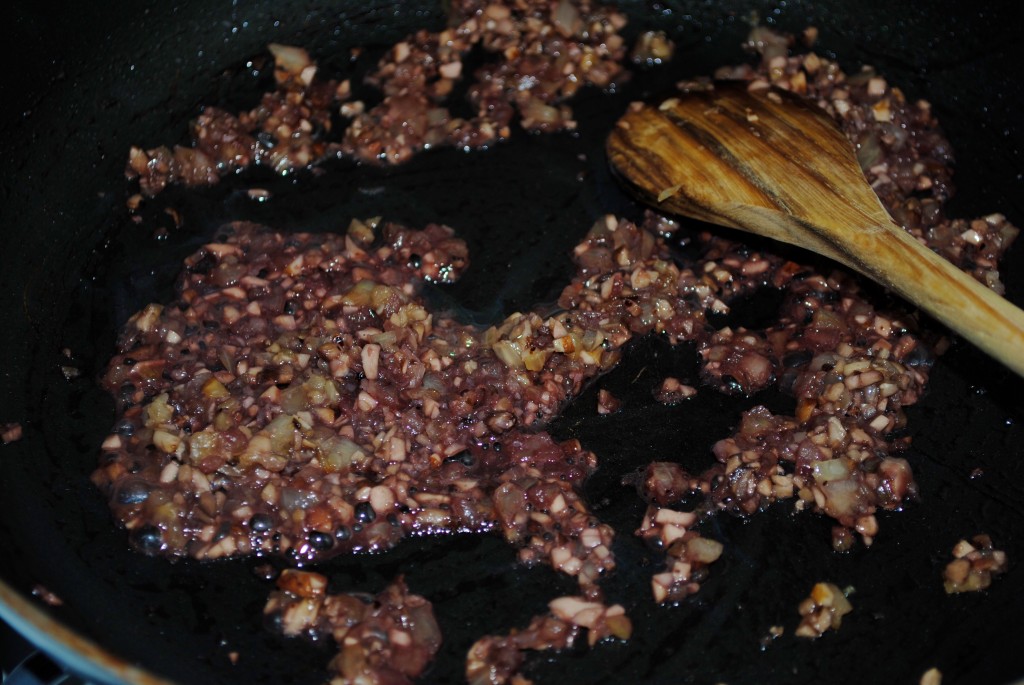
1. Sautee the shallots in about ½ tablespoon butter over medium heat. When soft, go ahead and add the mushrooms. Sautee for another five minutes. Then add the red wine, and let it go for another 2 or 3 minutes, until the liquid has cooked off.
2. Break your eggs into a bowl, and add the tablespoon of water. Whisk together until the eggs are just a little frothy on top.
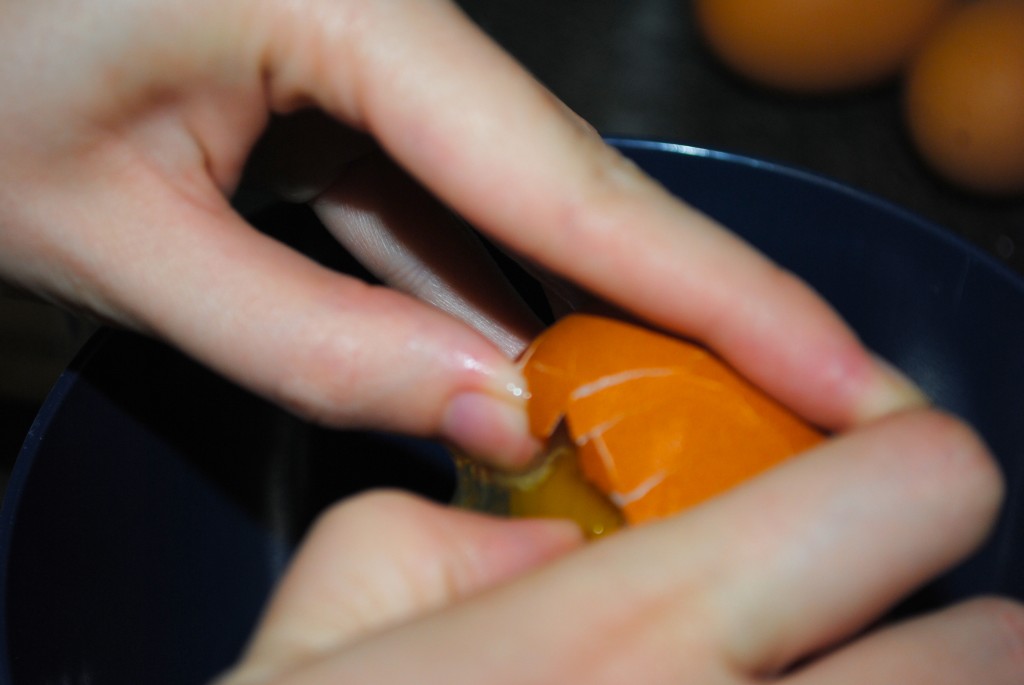
3. Heat the remaining butter in a small to medium non-stick pan over high heat. When the bubbles on the foam are just starting to subside, but before the butter starts to brown, dump in the egg mixture. Grabbing the pan by its handle, swirl it around so that the egg spreads evenly over the pan.
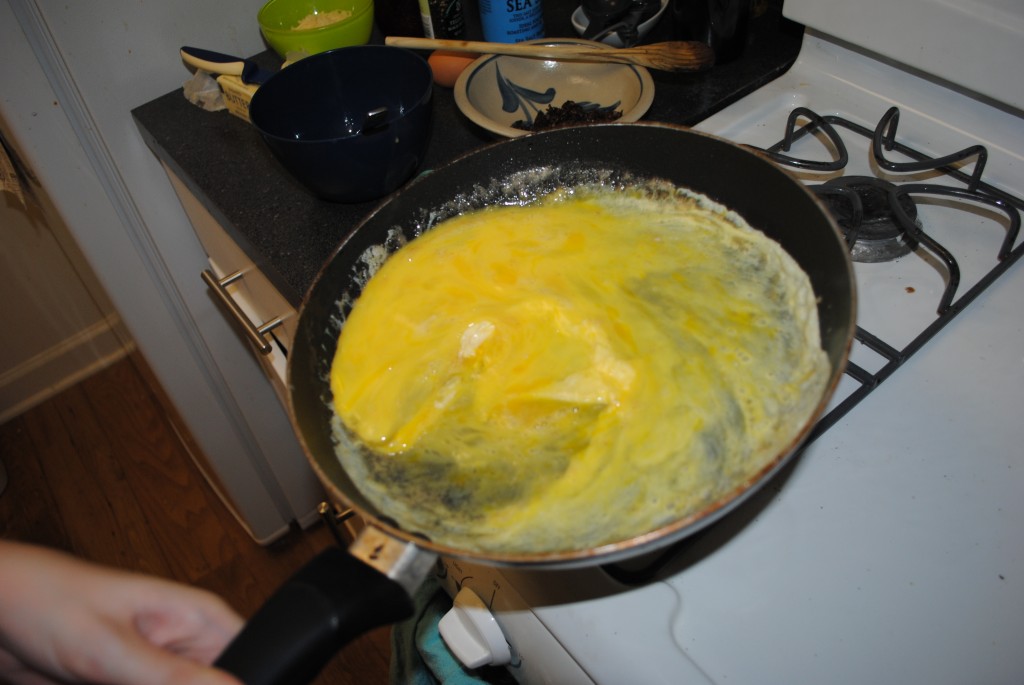
4. Let the pan sit on the burner for about 15 seconds. During this time, add the mushroom mixture along with the grated cheese to the upper third of the omelet, at the end of the pan directly opposite the handle.

5. Now jerk the pan towards you, getting the omelet to fold over itself. Keep jerking until the omelet has folded into a nice little omelet-shaped rectangle. This is tricky. Feel free to use a spatula to push errant bits of egg into the proper place. Julia recommends making ten or twelve omelets at one time, until you get the hang of it. It’s probably not bad advice, but I’ve never done it.
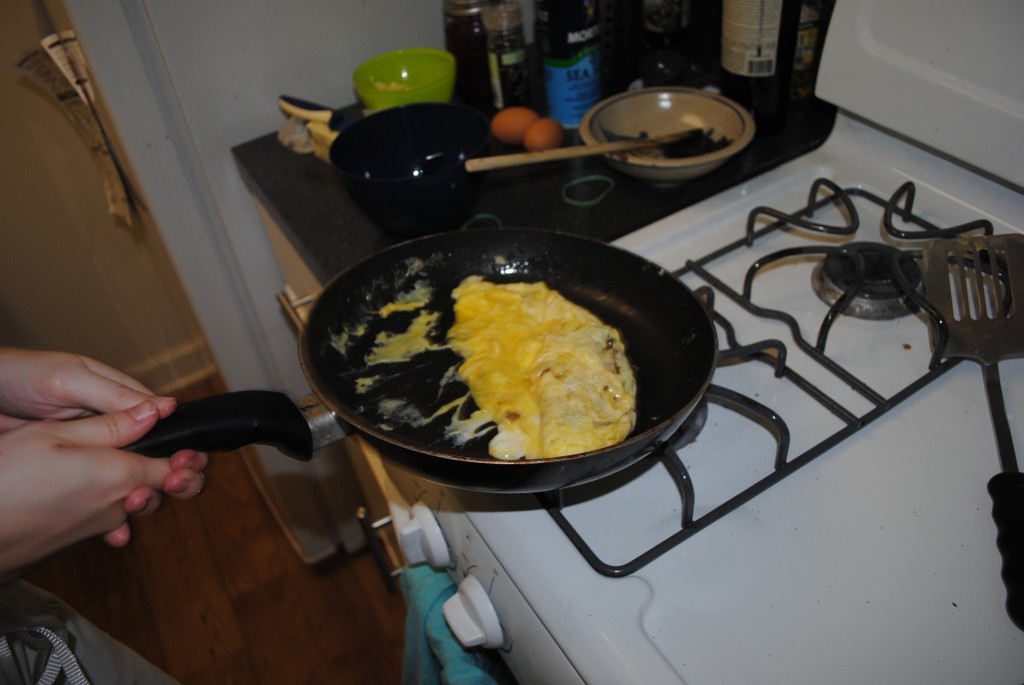
6. Plate the omelet and sprinkle some parsley on top. Serve with a side salad (I went with arugula and tomato) along with some bread and homemade jam.
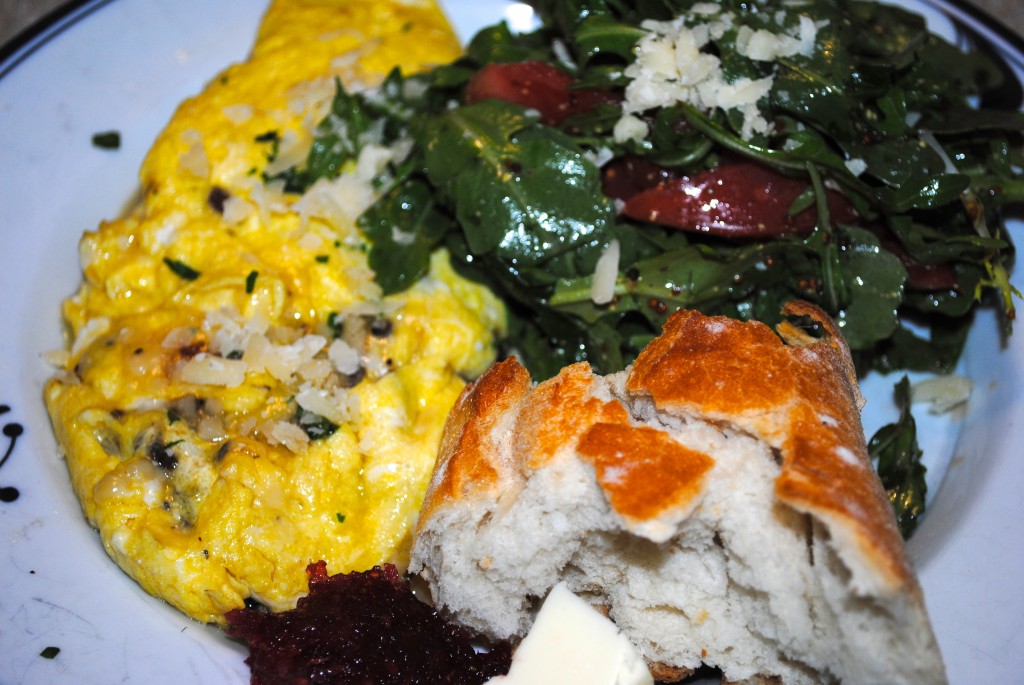
Carbs (without bread or jam): Negligible

My Mom’s Chicken Nachos (with melted cheese)


It’s two years after we started dating, and I’m standing in the kitchen making my mom’s chicken nachos. These nachos are a staple in our household—Friday night food like homemade pizza or something off the grill in the summer. One tray used to suffice, but my sister and I can make a pretty solid dent in one with just the two of us these days.

When my sister was little, she hated melted cheese. Grilled cheese, lasagna and fondue were all off-limits as far as she was concerned. The rest of us found her hatred of all melted dairy products somewhat perplexing (except for the fondue thing. I guess it’s not that weird for an eight year old to dislike fondue), but generally tolerated her one firm culinary dislike. There were only two real exceptions to my sister’s no melted cheese rule: our mom’s delicious macaroni and cheese and her equally fantastic chicken nachos.

Because here’s the thing about these chicken nachos: they’re just no good without the melted cheese on them.

So, it’s two years after we started dating and Dan and I are standing in my very first kitchen. It’s a student apartment kitchen, which means there’s just enough room for two of us to fit comfortably in it, so long as the cabinets, oven and fridge are all closed and nobody moves around too much. Dan’s been watching SNL, which in 2010 means that he’s busy walking around the apartment and throwing things on the GROUND!

I see him eyeing the bowl of grated Monterey jack.

“Listen, buster, you can throw that cheese on the ground, but if you do, you’re going to march right out that door and buy some more.”

Guess what?

He threw it on the GROUND! MAN!

And then he marched right out that door and bought some more cheese. Because these chicken nachos just aren’t any good without them.

(In all fairness, he did just mean to gently toss the bowl on the ground. He was as surprised as I was when the small kitchen wound up covered in grated Monterey jack. But as my uncle says, if you want to dance, you’ve got to pay the piper. Or, you know, if you want to throw a bowl on the ground, you’ve got to be prepared for the cheese to get all over the kitchen.)

My Mom’s Chicken Nachos (with melted cheese)

Ingredients – Serves 3-4

1 bag tortilla chips
2 chicken breasts
1 can diced tomatoes, drained
1 yellow onion, chopped
Red pepper flakes (if desired)
2 red bell peppers, chopped
3 cloves garlic, minced
1 6 oz package Monterey Jack, grated

1. Preheat the oven to 350 degrees. Poach your chicken breasts. Let’s be serious: I mean boil your chicken breasts. But boiling chicken (or anything other than pasta) is verboten in the food world, so let’s say poach your chicken. Add your chicken to a pot of water and bring to a boil. Lower the heat and let simmer for about fifteen minutes. Let sit in the hot water for at least another five, or until you’ve finished all your prep work. Then take the chicken breasts out and let cool.

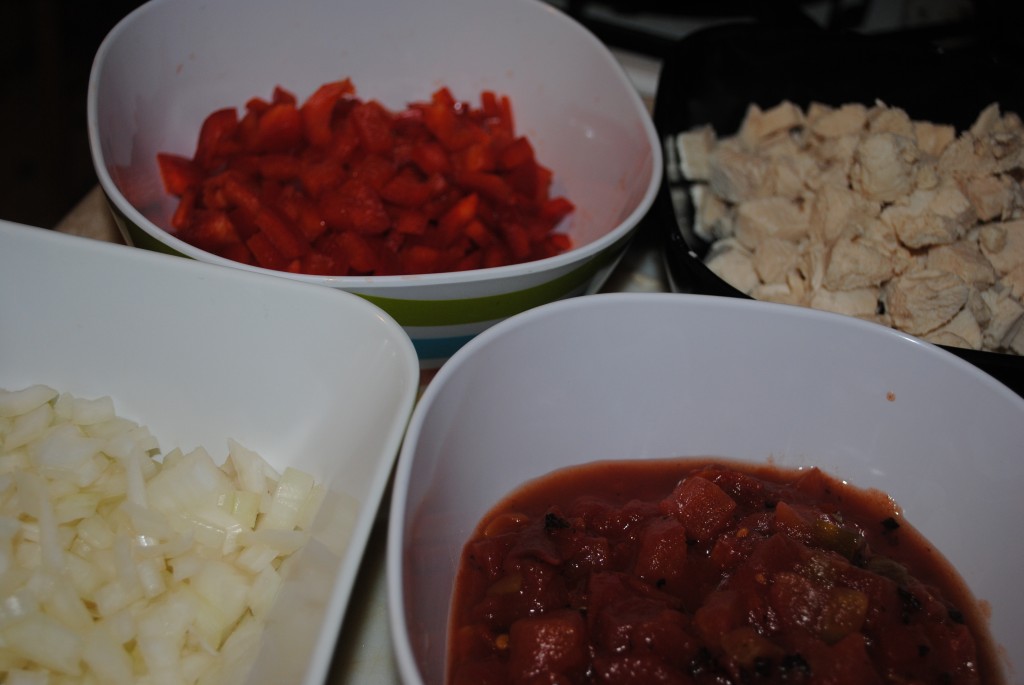
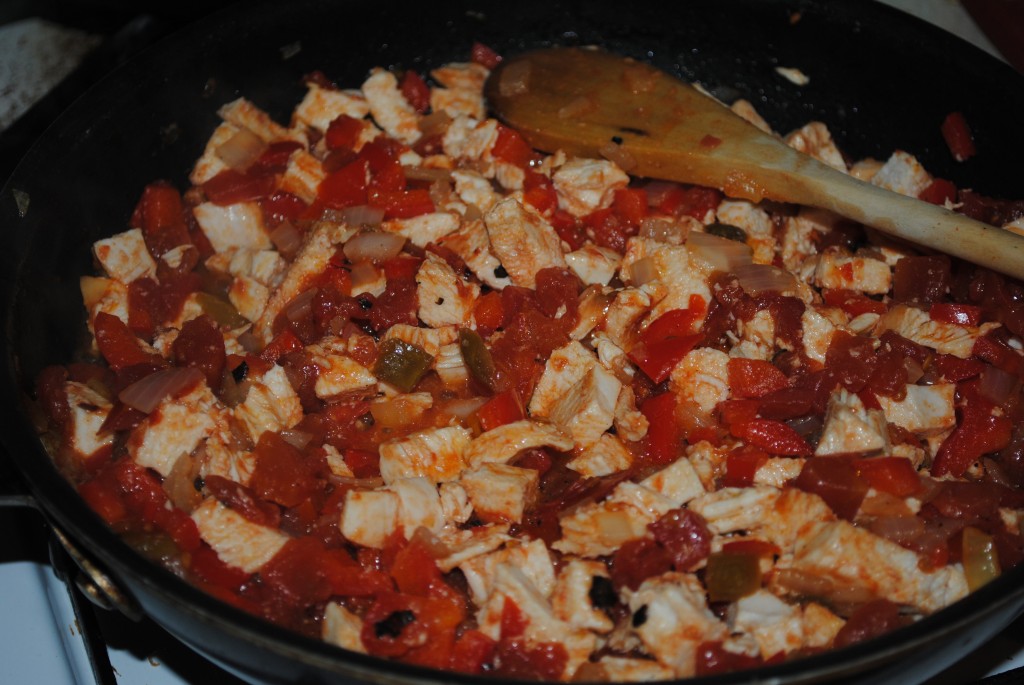
2. Saute the garlic and one to two shakes of red pepper flakes (if using) in a little olive oil for about 30 seconds. Add the onions, peppers and diced tomato and sauté until the onion is translucent, about 8ish minutes.

3. Cut up your now-cool chicken into pieces about the size of the pieces of pepper (maybe a little bigger.) Add the chicken to the garlic/tomato/onion/pepper mixture, and mix all together. Taste and see if you think it needs more salt. Add more salt or pepper as desired.

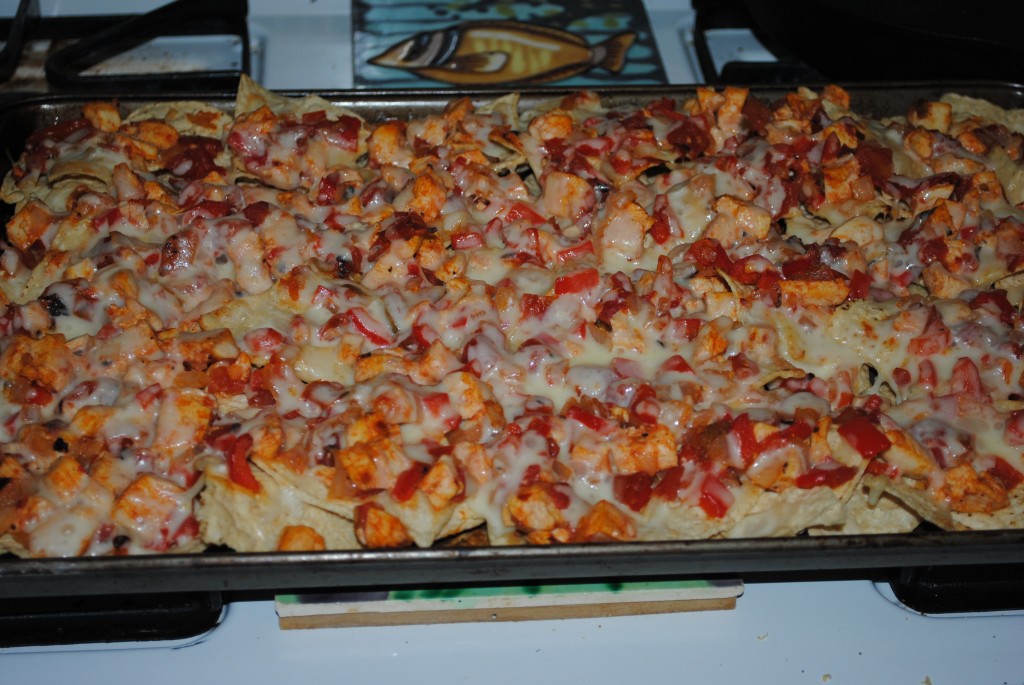
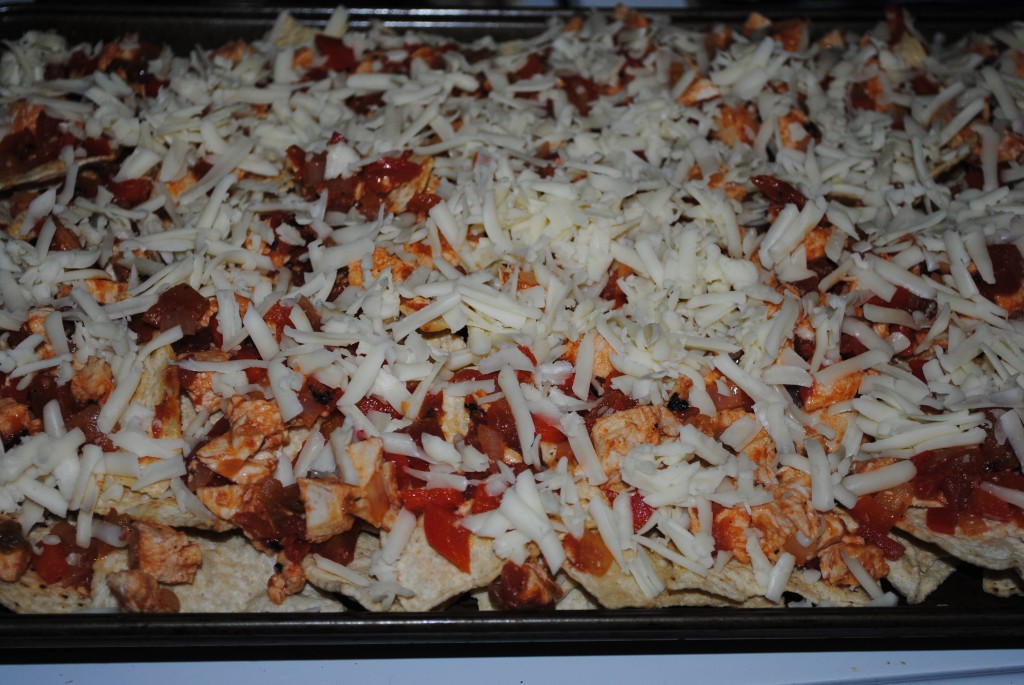
4. Spread about ¾ of a package of tortilla chips out on a cookie sheet. You want the whole sheet to be covered, so use as many chips as you need to. Then spread the chicken/pepper mixture over it and top with generous amounts of (soon to be melted) cheese.

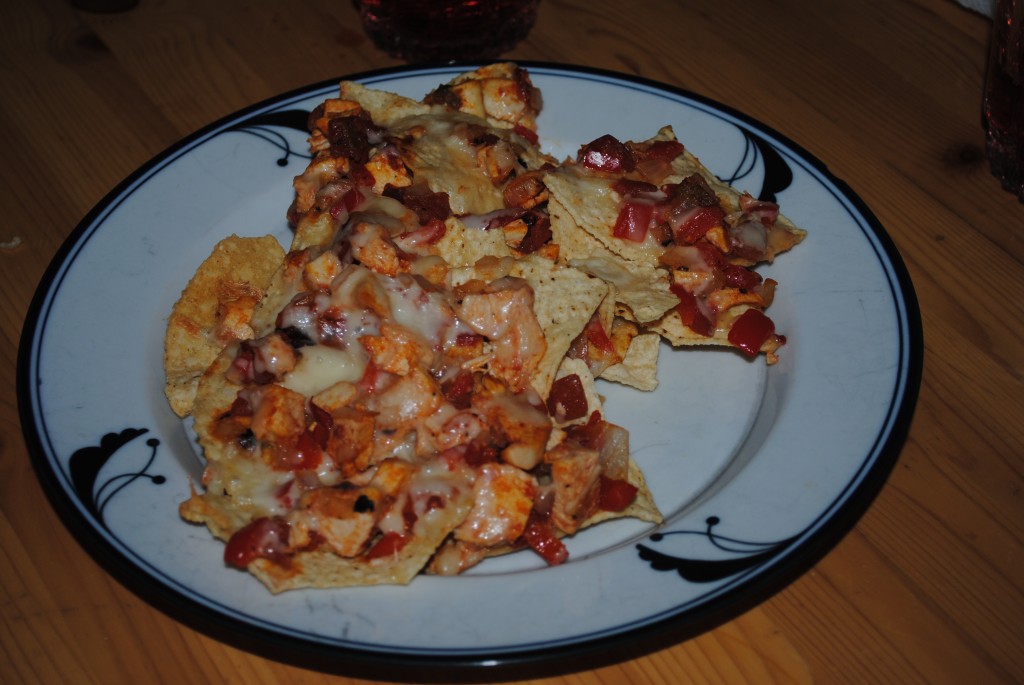
5. Bake for about ten minutes, until the cheese is oozy and melted and even a melted-cheese-hating little girl can barely wait to get her hands on it.

Carbs: 130 g
Carbs per serving: 43 (if three people finish the sheet off) or 32 (if you’ve got more restrained dinner companions and one sheet feeds four)

Welcome!

“I write this sitting in the kitchen sink. That is, my feet are in it; the rest of me is on the draining board, which I have padded with our dog’s blanket and the tea-cosy.”

        – Dodie Smith

In truth, as taken as I am with my new kitchen sink (the entire kitchen is new, not just the sink, and when I say new, I mean new to me because the kitchen, and the entire house, are decidedly old), it would not be a very good place to sit.

But, like Cassandra Mortmain, I find myself nervous to be starting a new project. There is nothing quite so unnerving as an empty journal, except, as I am coming to learn, a blinking word-processing screen. Nonetheless, I have steeled my courage and intend to make a solid go of it.

To help me along, I have years of learning at my mothers apron-strings, a few years of cooking for the same sweet and silly man, and a heavy shelf of cook books.

You may notice that between the creamy (and sometimes terrifying) La Bonne Cuisine de Madame E Saint-Ange, the delectable Julia, and the essential Joy, two cookbooks for diabetics managed to sneak in. And that, reader, is the real reason for this blog.

Several months ago my boyfriend Dan was admitted to the intensive care unit two days before we were supposed to leave on a long-planned and much anticipated vacation to Canada. I was going to try skiing again, he was going to persuade me to go snowshoeing, we were going to eat our way through Montreal. Instead, he found himself hooked up to an IV in New York Presbyterian. Dan was diagnosed with Type I diabetes. He took it with his usual cheery forbearance, while my mom accompanied me on an eating tour of the city (à di la and the Clover Club in Brooklyn, Veselka, Grand Central Oyster Bar and the Mermaid Inn in the city) and held my hand as I cried on the couch. Well. Not my bravest hour.

After our week of not-vacation, Dan and I came home to Washington, DC and I realized I was going to have to change the way I cook and the way we ate. I’ve always loved to cook, but cooking on a student’s schedule and budget in a student’s kitchen meant I ate a lot of pasta. When people ask what my go-to dish is, the answer is Pasta Puttanesca without the slightest hesitation. I could cook pasta puttanesca in my sleep, blindfolded.

(This is not as much of an achievement as it sounds. It is absurdly easy: gather together olive oil, tinned anchovies, 1 can of diced tomatoes (make sure the can contains tomatoes and only tomatoes–none of that basil and herb nonsense), some coarsely chopped pitted black olives, red chili flakes, a head of garlic and a jar of capers. Fill a big ol’ pot with water on top of the stove and pour some salt in there. Set the water to boiling–you will be done with the prep work before it comes to a boil. Cut up the garlic–you can slice it or mince it depending on your mood. I say two to four bigass cloves for two people, but know that I like garlic. Take some of the anchovies (I use about half a tin for two people, but I am anchovy mad. Normal people would probably like about 3 anchovies for this) and chop them roughly. Pour olive oil into pan over medium heat, and dump the garlic, anchovies, and three shakes of red pepper flakes in there. Heat for a while, until the anchovies start to look melt-ed-y. Open and drain your can of tomatoes, then dump that in there too. Ditto the olives, and oh, let’s say a tablespoon of capers. Put your pasta in the big pot when the water comes to a boil and cook to package instructions. Taste taste taste the pasta sauce; add salt as needed. The sauce can hang out on low, covered, while the pasta cooks. Drain the pasta, pour the sauce on top. A meal that actually takes less than thirty minutes, and costs less than ten dollars! Horrah!)

Dan is a Type 1 diabetic, which means butter, bacon and cream are still a-okay for him at the moment. The two things that really needed to change were the amount of carbs and vegetables we ate. Half of Dan’s plate is supposed to be filled with vegetables at every meal (this is actually true for all Americans, but this was the first time we were taking it super seriously). Dan takes insulin before every meal and bikes around the city nearly every day, so carbs can still play an important role in meals. Gone, however, are the days of a big pot of pasta counting as dinner.

The first few weeks, I carefully counted out the carbs in every meal. This was completely new territory for both of us. A big fan of butter and cream, I have never exactly been the type to think too closely about the nutritional value of a meal. Now I do, for every meal. It’s gotten easier for me to estimate the amount of carbs in a meal, and it’s easy enough to see whether half of a plate is taken up with vegetables.

It’s getting easier, but it hasn’t been easy. Dan’s diagnosis has absolutely challenged me as a home cook. I decided to start this blog to keep track of the food we eat and our efforts to find comforting, healthy options. I’m going to post recipes and nutrition facts as often as I can.

As a disclaimer: please don’t assume that these recipes will be perfect for every diabetic. Listen to your own doctor and your own common sense. Nutrition facts come from calorieking and should be taken as guidelines, not God’s own word.

Here’s hoping!