My Mom’s Chicken Nachos (with melted cheese)


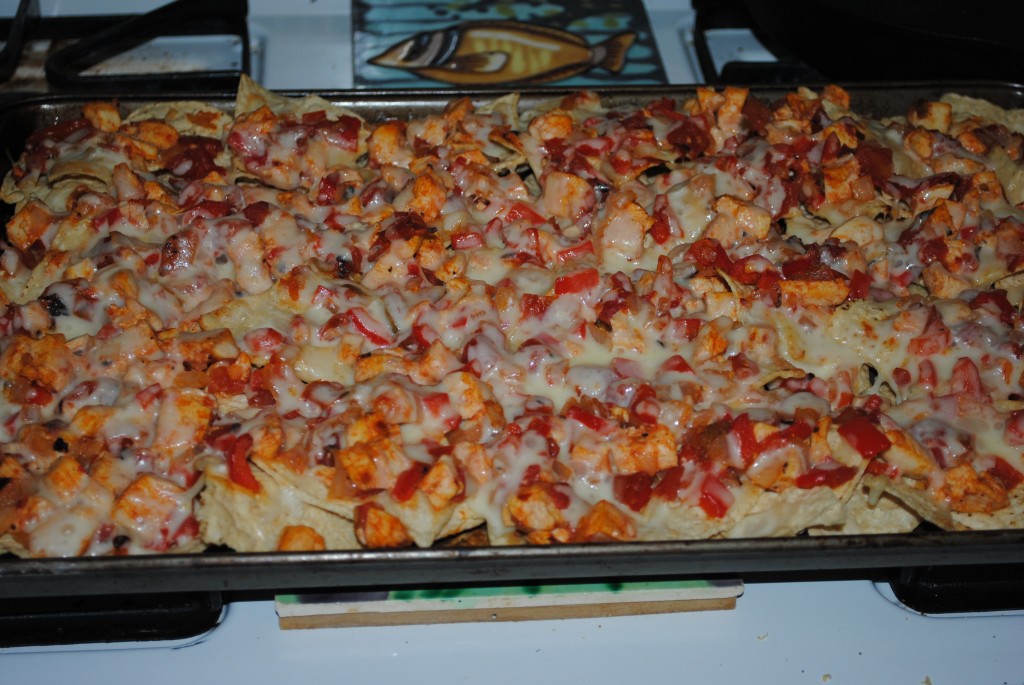
It’s two years after we started dating, and I’m standing in the kitchen making my mom’s chicken nachos. These nachos are a staple in our household—Friday night food like homemade pizza or something off the grill in the summer. One tray used to suffice, but my sister and I can make a pretty solid dent in one with just the two of us these days.

When my sister was little, she hated melted cheese. Grilled cheese, lasagna and fondue were all off-limits as far as she was concerned. The rest of us found her hatred of all melted dairy products somewhat perplexing (except for the fondue thing. I guess it’s not that weird for an eight year old to dislike fondue), but generally tolerated her one firm culinary dislike. There were only two real exceptions to my sister’s no melted cheese rule: our mom’s delicious macaroni and cheese and her equally fantastic chicken nachos.

Because here’s the thing about these chicken nachos: they’re just no good without the melted cheese on them.

So, it’s two years after we started dating and Dan and I are standing in my very first kitchen. It’s a student apartment kitchen, which means there’s just enough room for two of us to fit comfortably in it, so long as the cabinets, oven and fridge are all closed and nobody moves around too much. Dan’s been watching SNL, which in 2010 means that he’s busy walking around the apartment and throwing things on the GROUND!

I see him eyeing the bowl of grated Monterey jack.

“Listen, buster, you can throw that cheese on the ground, but if you do, you’re going to march right out that door and buy some more.”

Guess what?

He threw it on the GROUND! MAN!

And then he marched right out that door and bought some more cheese. Because these chicken nachos just aren’t any good without them.

(In all fairness, he did just mean to gently toss the bowl on the ground. He was as surprised as I was when the small kitchen wound up covered in grated Monterey jack. But as my uncle says, if you want to dance, you’ve got to pay the piper. Or, you know, if you want to throw a bowl on the ground, you’ve got to be prepared for the cheese to get all over the kitchen.)

My Mom’s Chicken Nachos (with melted cheese)

Ingredients – Serves 3-4

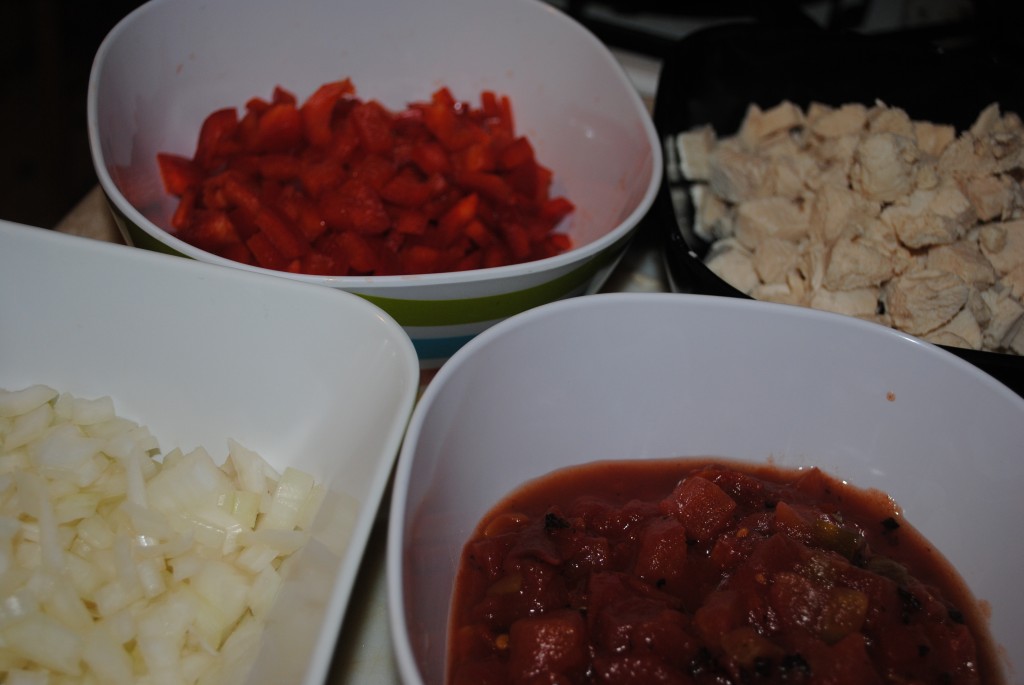
1 bag tortilla chips
2 chicken breasts
1 can diced tomatoes, drained
1 yellow onion, chopped
Red pepper flakes (if desired)
2 red bell peppers, chopped
3 cloves garlic, minced
1 6 oz package Monterey Jack, grated

1. Preheat the oven to 350 degrees. Poach your chicken breasts. Let’s be serious: I mean boil your chicken breasts. But boiling chicken (or anything other than pasta) is verboten in the food world, so let’s say poach your chicken. Add your chicken to a pot of water and bring to a boil. Lower the heat and let simmer for about fifteen minutes. Let sit in the hot water for at least another five, or until you’ve finished all your prep work. Then take the chicken breasts out and let cool.

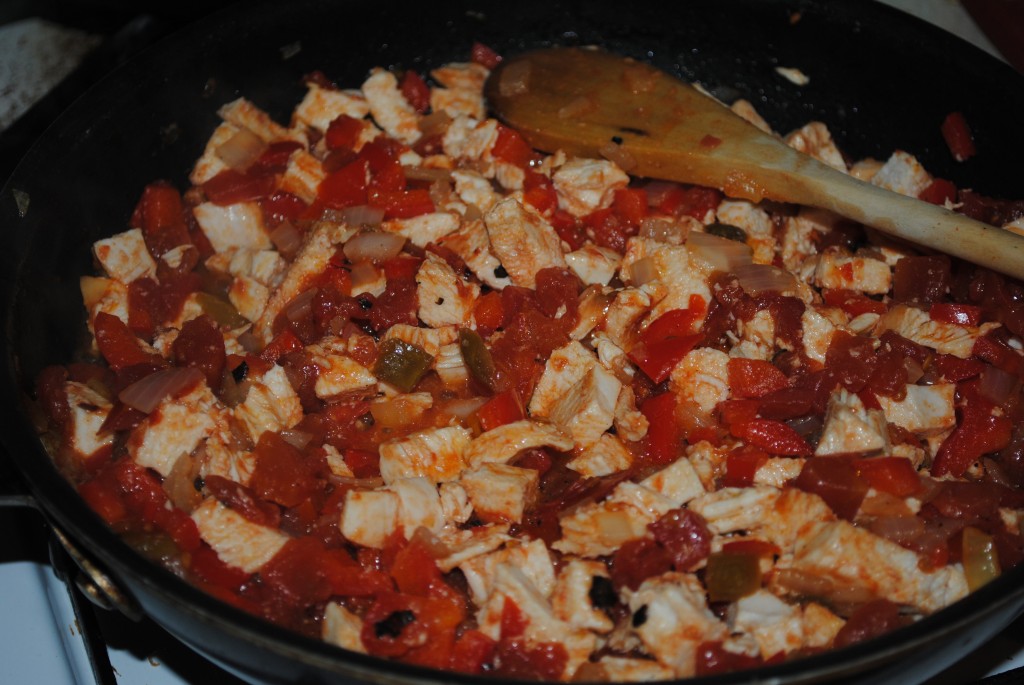
2. Saute the garlic and one to two shakes of red pepper flakes (if using) in a little olive oil for about 30 seconds. Add the onions, peppers and diced tomato and sauté until the onion is translucent, about 8ish minutes.

3. Cut up your now-cool chicken into pieces about the size of the pieces of pepper (maybe a little bigger.) Add the chicken to the garlic/tomato/onion/pepper mixture, and mix all together. Taste and see if you think it needs more salt. Add more salt or pepper as desired.

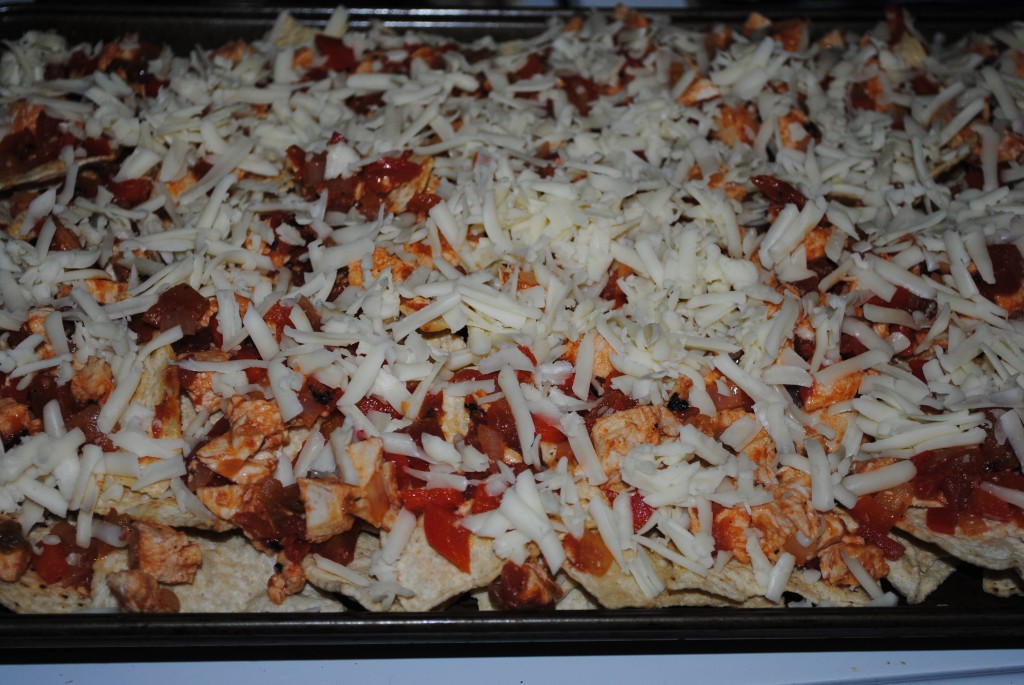
4. Spread about ¾ of a package of tortilla chips out on a cookie sheet. You want the whole sheet to be covered, so use as many chips as you need to. Then spread the chicken/pepper mixture over it and top with generous amounts of (soon to be melted) cheese.

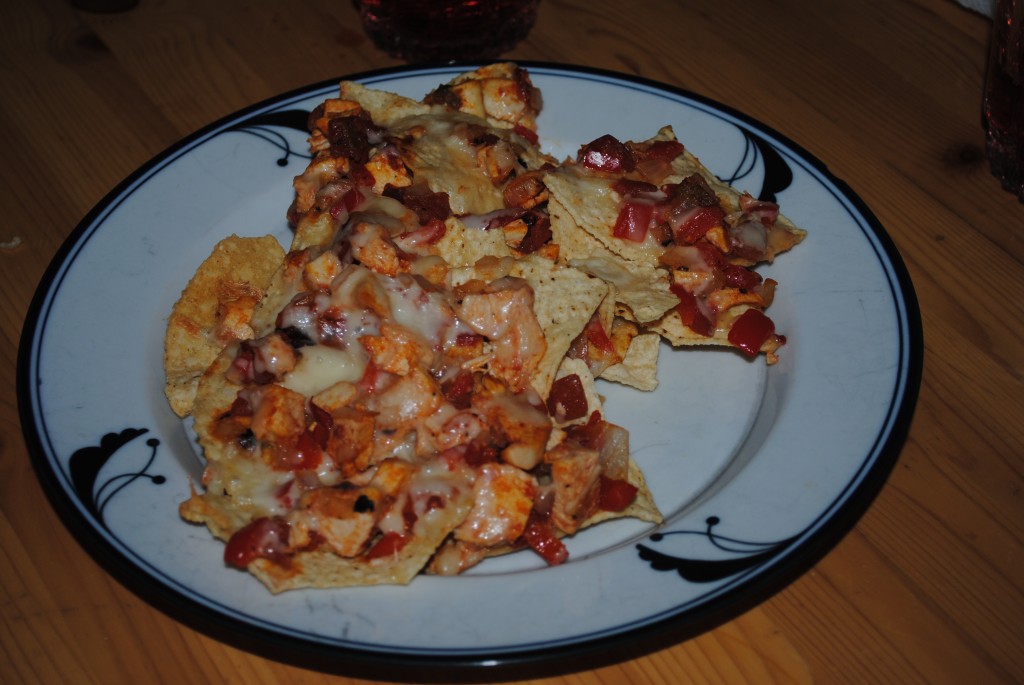
5. Bake for about ten minutes, until the cheese is oozy and melted and even a melted-cheese-hating little girl can barely wait to get her hands on it.

Carbs: 130 g
Carbs per serving: 43 (if three people finish the sheet off) or 32 (if you’ve got more restrained dinner companions and one sheet feeds four)

Gerard Bertrand Salad: Zucchini with White Anchovies, Tomatoes and Roasted Peppers


When I was sixteen, my family took a summer vacation to France. We spent a week in Paris, and then seven days exploring the rest of the country: two days in Brittany, a day in the Loire, a day in Rocamadour and a few days in Narbonne. I had expected to be utterly enchanted with Paris; I had, after all, been captivated by Sabrina at an impressionable age. With the exception of one magnificently long day spent wandering the halls of the Louve, the strongest impression I retain of our time in Paris is of greyness. The city, the streets, even the steak at a bistro near our hotel seemed grey and old and utterly lacking the magic that is supposed to lie at the center of Paris.

There were other highlights to the week in Paris, of course: a truly magnificent cup of coffee with lunch on our first day in the city, a small boutique where I bought a skirt that I still get compliments on, and the perfectly charming Musée Picasso. But it was not until we drove out of Paris, headed west towards Brittany, that I fell headlong into a whirlwind romance with France, as so many Americans from Julia Child to Benjamin Franklin have before me.

If Paris had been grey, the rest of France positively burst with color. Driving to the seaside town of Saint Malo, we stopped to see Mont St. Michel, the famous monastery surrounded by water. By some happy coincidence, we arrived just as the masses of tourists were leaving. Walking into the monastery’s rooftop garden, my family was completely alone except for the very picturesque sound of chirping birds. From the quiet of the monastery we made our way to the carnival-like atmosphere of Saint Malo, where we ate fresh mussels and my mom ordered an unfortunately blue beverage off the cocktail menu. There were jugglers in the street and an opera singer next door, and in the morning a flirtatious waiter who cheerfully practiced his limited English on my mom and me.

Driving south, we listened to the popular Malian duo Amadou and Mariam and ate roadside picnics of cheese, pate, and drippingly delicious peaches. When we finally arrived in Narbonne, the concierge apologetically informed us that, owing to the hotel’s annual Jazz festival, the normal menu at the restaurant would be discontinued in favor of a four-course tasting menu. Well. We certainly didn’t complain.

The wine-maker whose vineyard we were staying at was named Gerard Bertrand and, after the waitress finished describing our meal for the evening, my little sister (then eleven) commented that it sounded to her as if the waitress had just told us that we would be dining on Gerard Bertrand, with a side of Gerard Bertrand, and for dessert, some Gerard Bertrand. My high school French didn’t make the menu much clearer to me than it had been to her, so I am unable to tell you the exact name of the dish that inspired tonight’s recipe. This salad perfectly captures what I fell in love with in France: the bright colors, fresh flavors, and possibility of an endless summer.

White anchovies really make this dish in my opinion, but feel free to omit if you can’t find them or want a vegetarian option. Serve with good goat cheese, crusty French bread and a crisp rose for a perfect summer supper.

Gerard Bertrand Salad – Serves 2
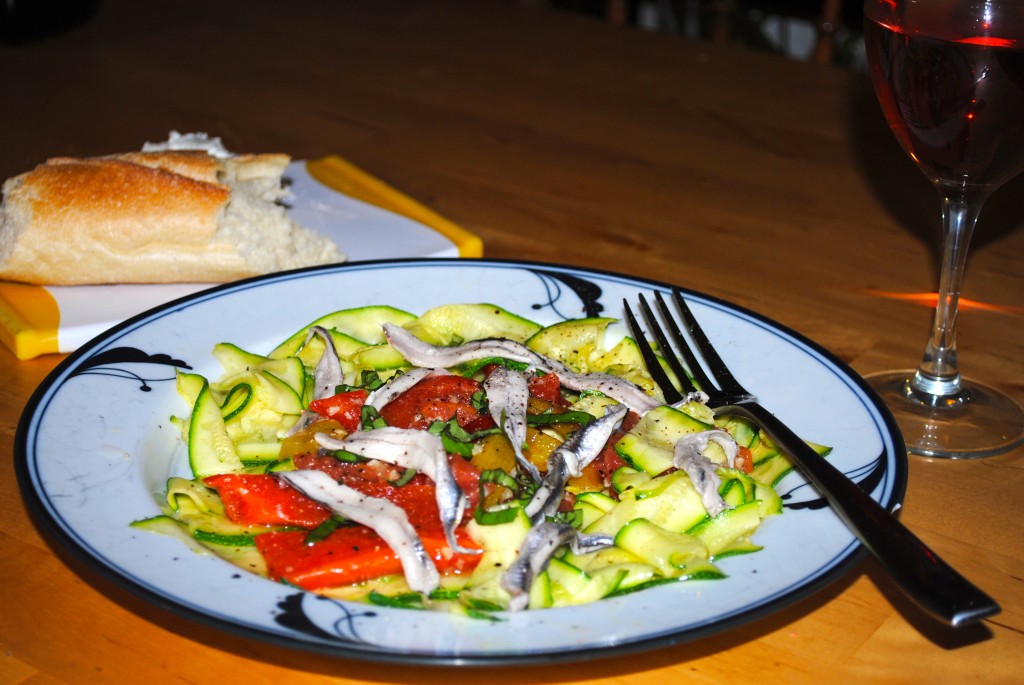

Ingredients

2 zucchinis
2 bell peppers – I went for red and yellow to add a bit more color to the salad, but feel free to use just red
3 tomatoes
3 cloves garlic, minced
Olive oil
Salt
Pepper
½ lemon
10-20 pieces marinated white anchovies
4 Basil leaves, sliced crosswise

1. First, a word on how to mince garlic. Take your three garlic cloves and lay them sideways on your cutting board. Hold your chef’s knife horizontal to the cutting board over the garlic cloves and bash it with the heel of your hand. The papery outside of the garlic should come off, and your cloves will be squished-ish. If this hasn’t happened, bash them again, and remove the papery outside. Next, roughly chop the garlic a few times to break up the pieces. Cover these pieces with about half a teaspoon of salt, and chop a few more times to incorporate the salt mixture into the garlic. Now go find something else to do for about five minutes. Change the music on your iPod, open a bottle of wine, pour yourself a drink. This interaction between the garlic and salt will help you properly mince the garlic and will keep it from getting sticky and clinging to the knife blade. Now chop the garlic as fine as you can, pausing to scrape up any pieces that are hanging onto the blade. I hold my left hand on top of the knife blade, pressing down as I cut. However small those minced garlic pieces are, make them smaller. They should be almost to the point of looking like a paste when you’re done.
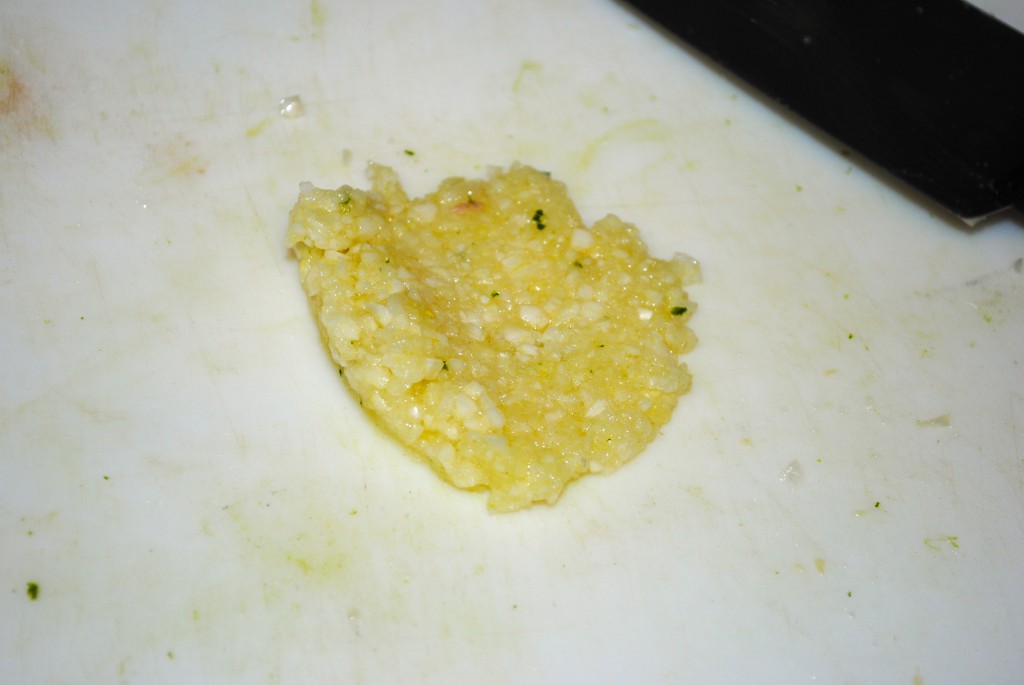
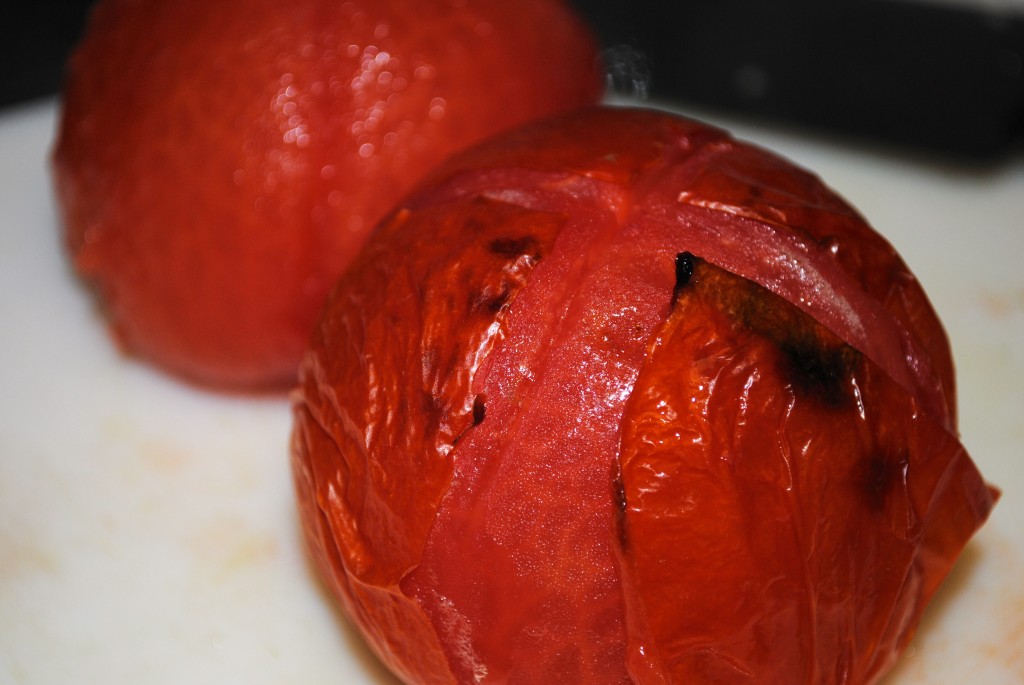
2. Now that the garlic is properly minced, place it in a little bowl and forget about it for a while. Time to prepare the tomatoes and peppers. Take you tomatoes and place them, stem-side down, on you cutting board. Turn on your oven’s broiler. Cut little x’s into the bottom of the tomatoes. This will make the skin easier to take off in a little bit. Place the tomatoes in or under your broiler on a sheet of aluminum foil for three to five minutes.

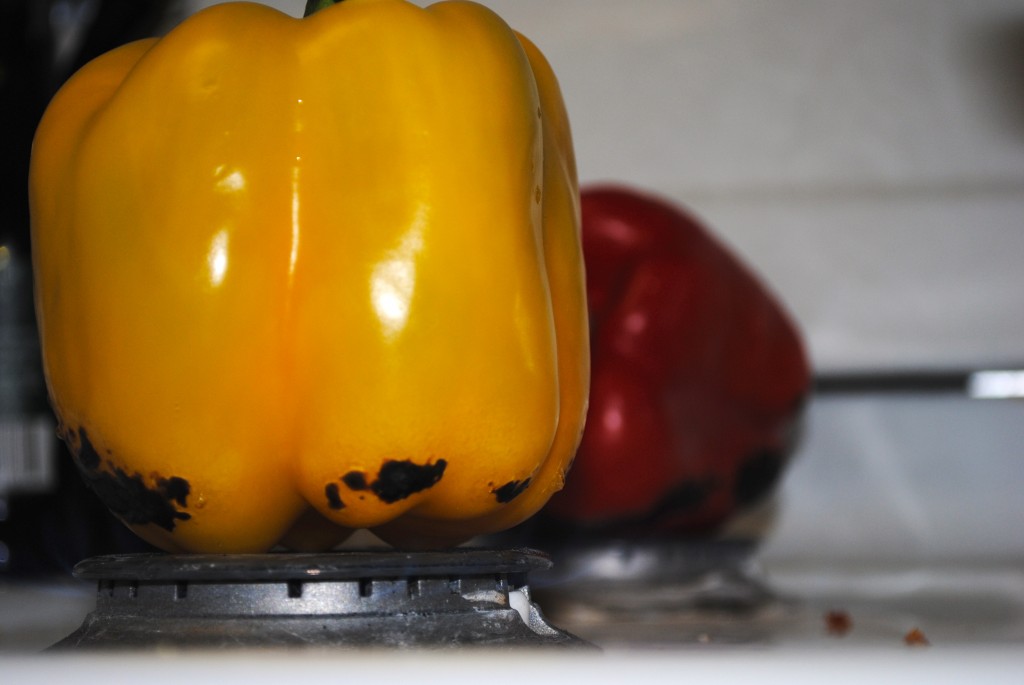
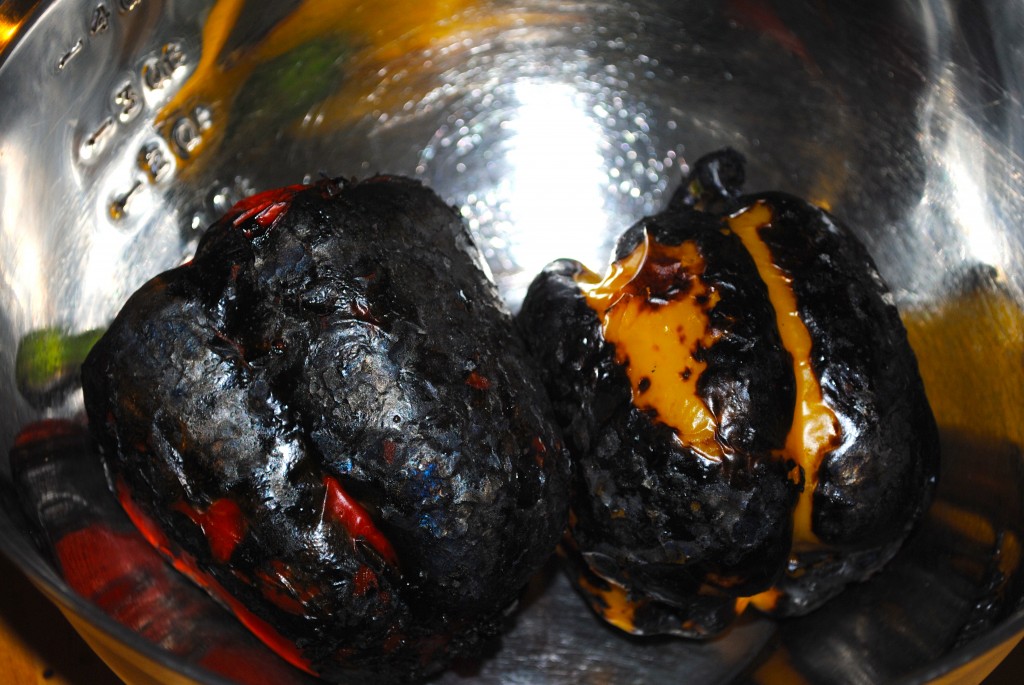
3. In the meantime, prepare your peppers. You can either do this under the broiler or on the stovetop. Because my broiler is too small to fit the peppers comfortably, I opted for the stovetop. This is a method for gas stoves. Remove the grill above your stove’s flame, and place one pepper each on a burner. Turn the heat up to high, and let the flame brown the pepper’s skin, turning as necessary. The pepper should be totally charred on the outside when you are done.
4. When the peppers are properly charred, remove them to a bowl and cover the bowl with plastic wrap. Letting them steam for a little while makes the skin easier to remove later.
5. Remove your tomatoes from under the broiler and set aside.

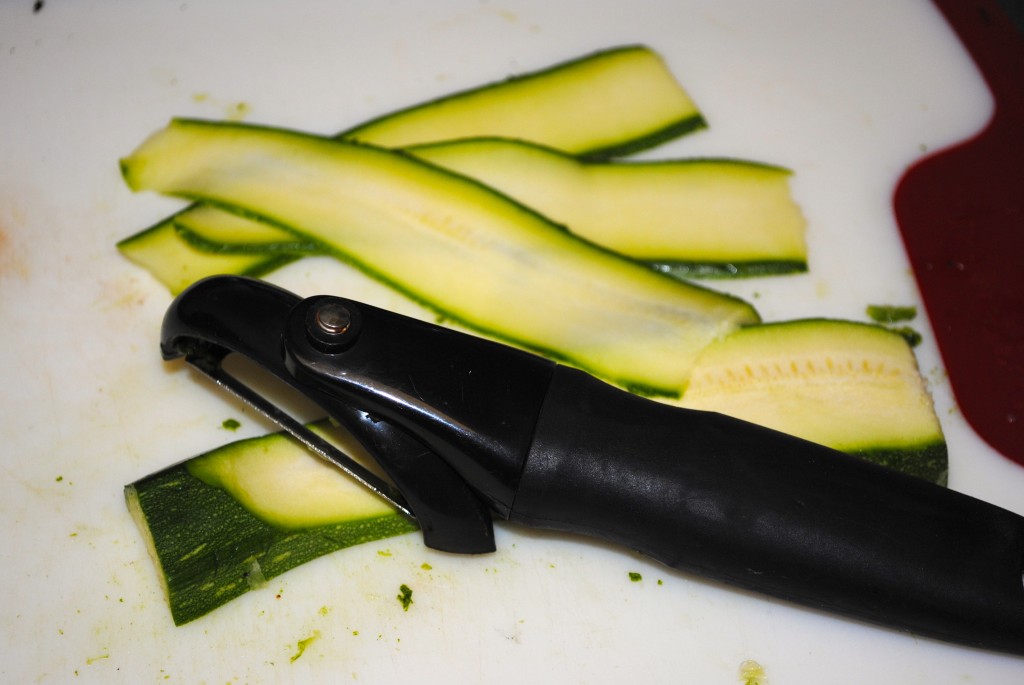
6. Time to cut the zucchini! Either a mandolin or a vegetable peeler works well for this. We’re going to cut the zucchini into very thin ribbons. Cut off the tops and bottom of the zucchini, then lay it horizontally on your cutting board. Use the vegetable peeler to slice off long strips of zucchini, or (if using a mandolin) slide the zucchini along the blade to cut off slices between 1/8 of an inch and ¼ of an inch thick. Place on a plate and set aside.
7. Now that the tomatoes are cool enough to handle, remove the skin (it should come off easily now) and slice horizontally. Using your thumb, dig the seeds out of the tomato and discard. Chop the remaining tomato into one inch pieces and place in a large bowl.
8. Next, remove the bell peppers from their bowl and chop each in half. Pull off the clump of seeds from inside each half and discard. Under running water, use your thumb to push off the charred outside of each pepper until all of the skin is gone. Slice the pepper into quarter-inch wide strips and put in the bowl with the tomato pieces.

9. Heat a tablespoon of oil in a medium to large non-stick skillet until hot. Add in the minced garlic and sauté for about a minute, until fragrant and slightly sweet. Remove from the heat and add the garlic and olive oil to the tomato/pepper mixture. Mix to combine, adding another half tablespoon of oil, salt, pepper and the juice from half a lemon. Taste for seasoning.

10. In the same pan used to cook the garlic, heat a very small amount of oil over medium heat. You want just a misting of oil—olive oil cooking spray could work well here. Arrange pieces of zucchini in the pan in a single layer—about five or six at a time. Cook for thirty seconds, and then flip each piece over and cook for an additional fifteen. Remove to a paper-towel lined plate. Continue working in batches, adding more olive oil if the pan gets dry, until all of the zucchini has been cooked.
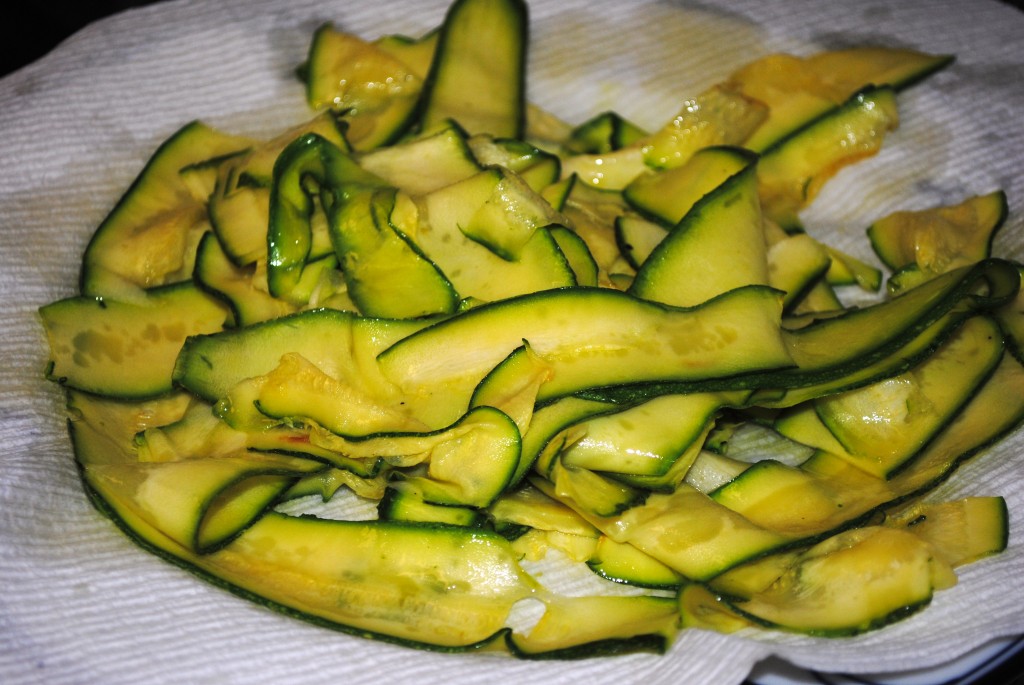
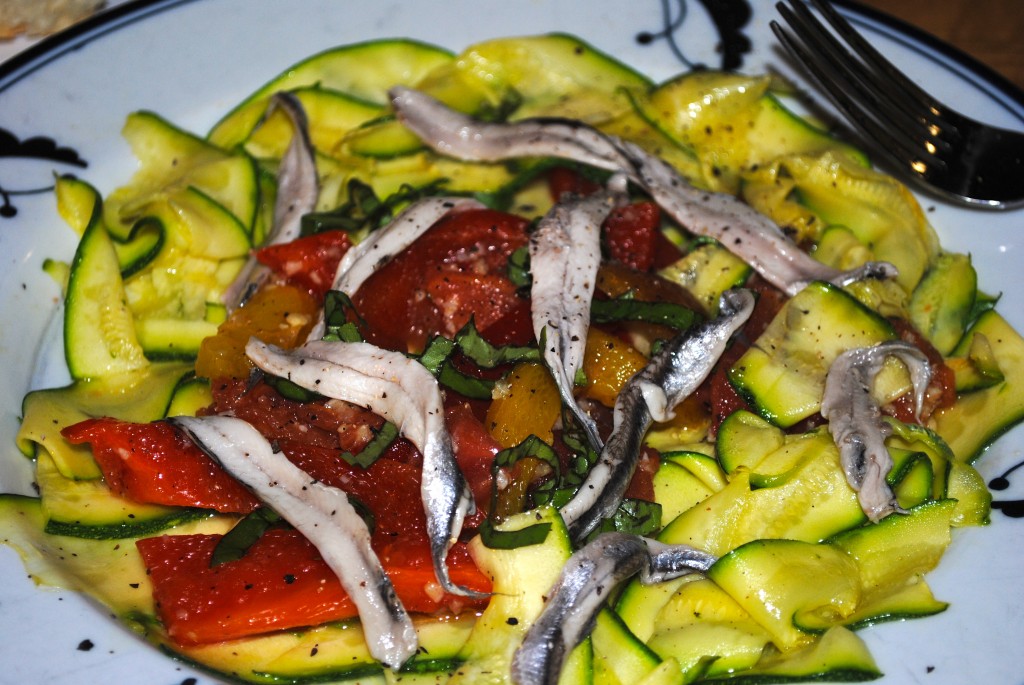
11. Arrange half the zucchini on each plate, so that the entire bottom of the plate is covered. Place half of the tomato/pepper mixture in a mound on each plate, and top with 5-10 anchovies each. Sprinkle chopped basil on top. If this plating is too fussy for you, don’t fret. Feel free to add the zucchini in with the tomato/pepper mixture and stir to combine. It will taste just as good! Serve with goat cheese and a tasty baguette.

Total Carbs: 45 grams (without bread)
Carbs per serving: 22.5 grams (without bread)
Braised Cornish Game Hens with Rhubarb & Tagliatelle

I’ve been putting off writing this blog post for far too long now. I’ve got excuses and excuses and excuses (a senior thesis to finish, graduation, moving, starting work), but today has been mostly perfect. I’m sitting in my new studio apartment as Dan sings along to Sugar Magnolia and makes Cornish Game Hens in the kitchen. What excuse could I possibly muster tonight?

This is the second time in as many weeks that I’ll be having Cornish Game Hens. I have no idea whether or not this particular variety of poultry is actually any better in the springtime (which it will still be for eleven more days, officially). Joy seems to suggest not, informing me that Cornish Game Hens are just a recently developed breed of Very Small Chicken, rather than a young chicken. Kind of like a pony versus a foal. Still. Eating small fowl seems to be a very spring-like thing to do, and so I have been indulging.

I’ve a passion for springtime food. I’m mad for asparagus. Over the past month, we’ve had Potato and Asparagus Salad with Crème Fraiche and Poached Eggs; Asparagus Mimosa; Asparagus Frittata; Asparagus Risotto; and more boiled asparagus than I care to recall (as you can tell, I’ve also been on a bit of a Dash & Bella kick. If you haven’t checked out Phyllis Grant’s marvelous blog, do it now). If summer doesn’t roll around soon, with its competing obsessions of heirloom tomatoes and summer squash, I think Dan will stage a revolt.

About ten years ago, my family spent the Easter holiday at my grandparents’ lovely home in Connecticut. We went for hikes in the woods, hid stuffed animals all around the house in a very silly April Fool’s day prank, and made a Spring Feast from Martha Stewart’s Living magazine. I was only twelve at the time, and I can’t remember the exact progression of the feast. Here’s what I do remember: fresh wild mushroom sauce served over hot popovers, delicious salmon (maybe on the grill?) and one of my mom’s famous galettes for dessert. I haven’t been home for a weeklong Easter break in quite some time, and these days our visits to Connecticut are more summer-themed (Rick Bayless’ margaritas, Nando’s peri peri chicken, and Bay Village potato salad). So when I was home for a week after graduation, we decided to make another springtime feast.

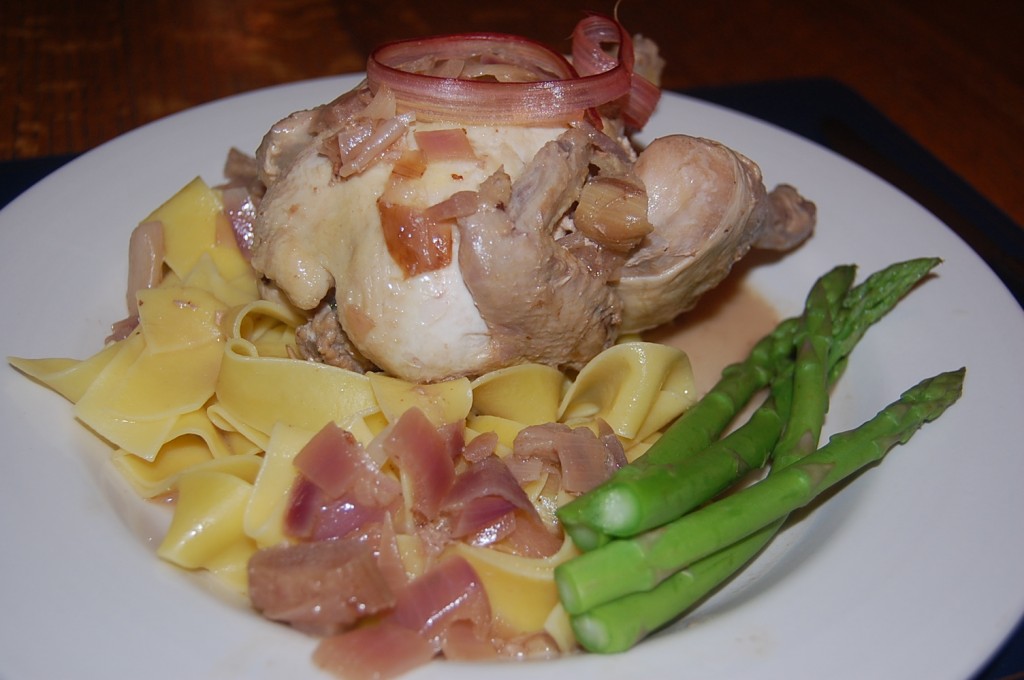
Today I’m giving the recipe for our main course that night: Braised Cornish Game Hens with Rhubarb & Tagliatelle, and fresh asparagus. Look out later in the week for a springtime cocktail, the Rhubarb & Strawberry Crush. Make this soon, before the foggy heat of summer steals away the last of the rhubarb and asparagus.

(In other news, it is criminal the prices that the otherwise perfect Fairway charges for their rhubarb. $7 a pound! Somebody needs to call 7 on Your Side!)

Braised Cornish Game Hens with Rhubarb & Tagliatelle


Inspiration for the Game Hens comes from La Cucina Italiana.


Ingredients (Serves 4)

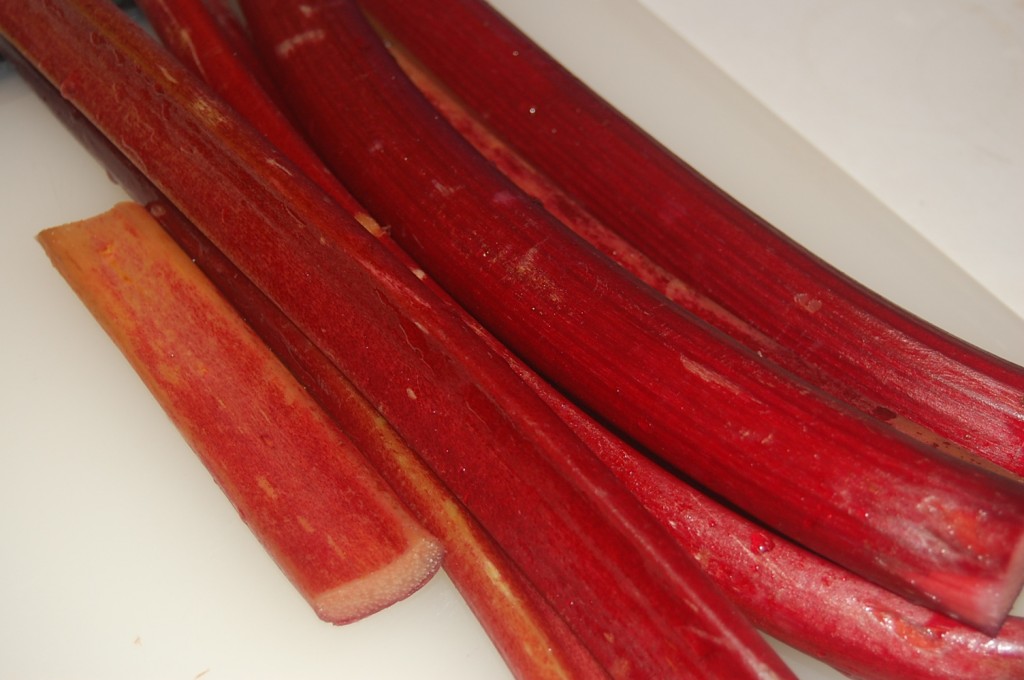
3/4 lb. Rhubarb stalks (this obviously depends on the size of the stalks, but it was about 5 stalks in my case)

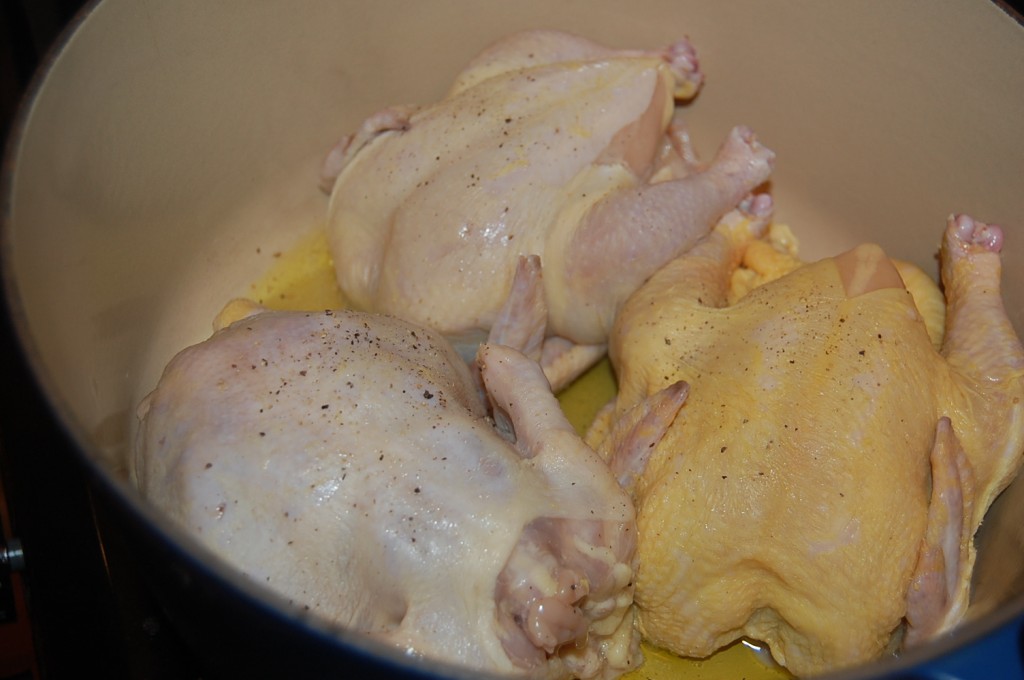
Four 1-1.5 lb. Cornish Game Hens

Olive Oil

5 tbs. Butter (unsalted)

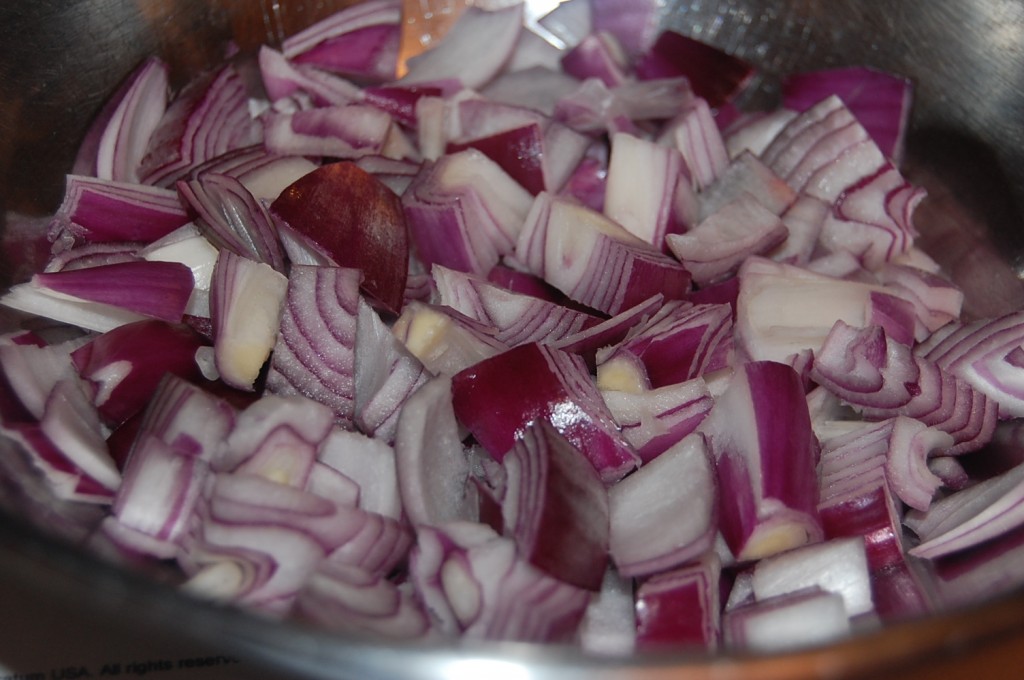
1 large red onion, chopped

1 cu dry white wine

Salt ‘N’ Pepa

1 Lb. Tagliatelle

1 lb asparagus, tough bottom ends broken off (if there are any)

1. Fill a large pot with cold water, and place on a back burner to come to room temperature. Salt the water generously.

2. Use a vege peeler to peel off four long strips of rhubarb to use as garnish. Cut the rest of the rhubarb into 1/2 inch chunks.

3. Season each of the hens inside and outside with salt and pepper. Heat 3 tbs of olive oil in a large skillet until hot (you will probably need to do this in batches, or use two skillets. Each hen needs room to brown, so you have to make sure you’re not crowding them into your skillet. File under: lessons learned the hard way.). Brown the hens in the oil until golden all around, about five minutes per side. Remove from the pan, and place on a paper-towel lined plate.

4. Melt the butter in a large Dutch oven over medium-low heat. Add the onions and cook for about ten minutes. In the meantime, dump out excess oil from your chicken-cooking pans, and then deglaze them. Pour 1/3 cup of the wine into the pan, and use a spatula to scrape up any goodness stuck to the pan.

5. When the onions are done, add the wine from the deglazed pans along with the rest of the white wine and the 4 wee hens. Throw in some salt and pepper. Bring to a simmer over medium heat, then reduce heat to low and cook, covered, for twenty-five minutes. Check your little hens every once in a while, turning them when the feeling strikes you.

6. Add the chopped rhubarb to the Dutch oven, and move the birds around to let the rhubarb become assimilated into the dish. Cover again, and let cook for another fifteen to twenty-five minutes (cooking time depends on hen-size).

7. Bring your pot of water to a boil. Add tagliatelle, and cook according to package instructions.

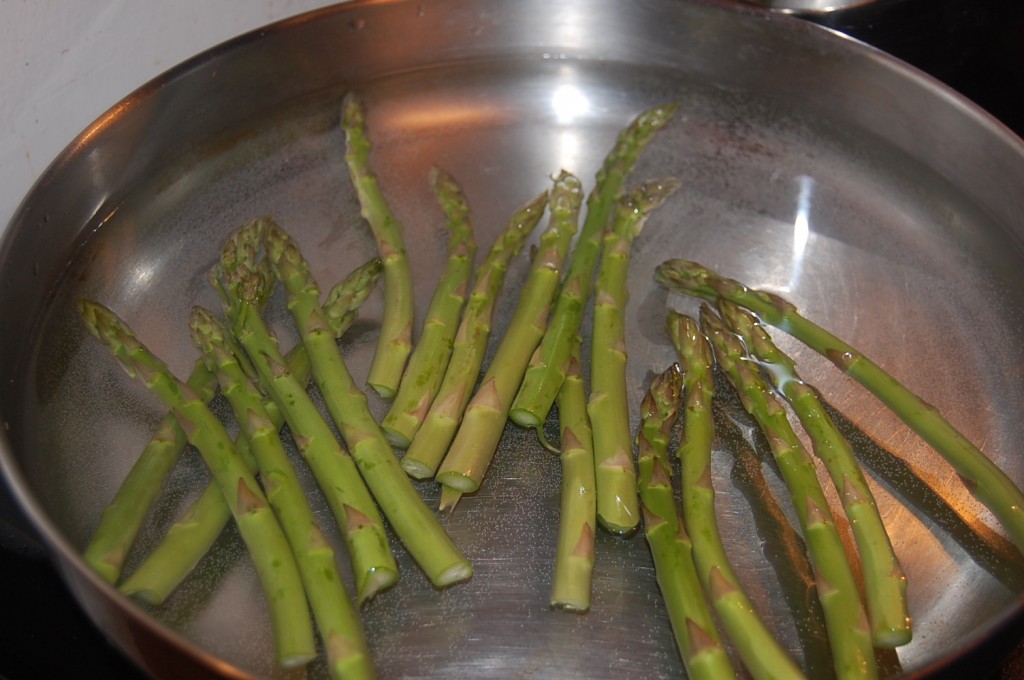
8. In the meantime, bring a large pan of water to a boil. Add the asparagus, and reduce heat to a simmer. Simmer for 3 to 5 minutes, then drain and place on a platter. Drizzle with olive oil and freshly squeezed lemon, and season with salt and pepper.

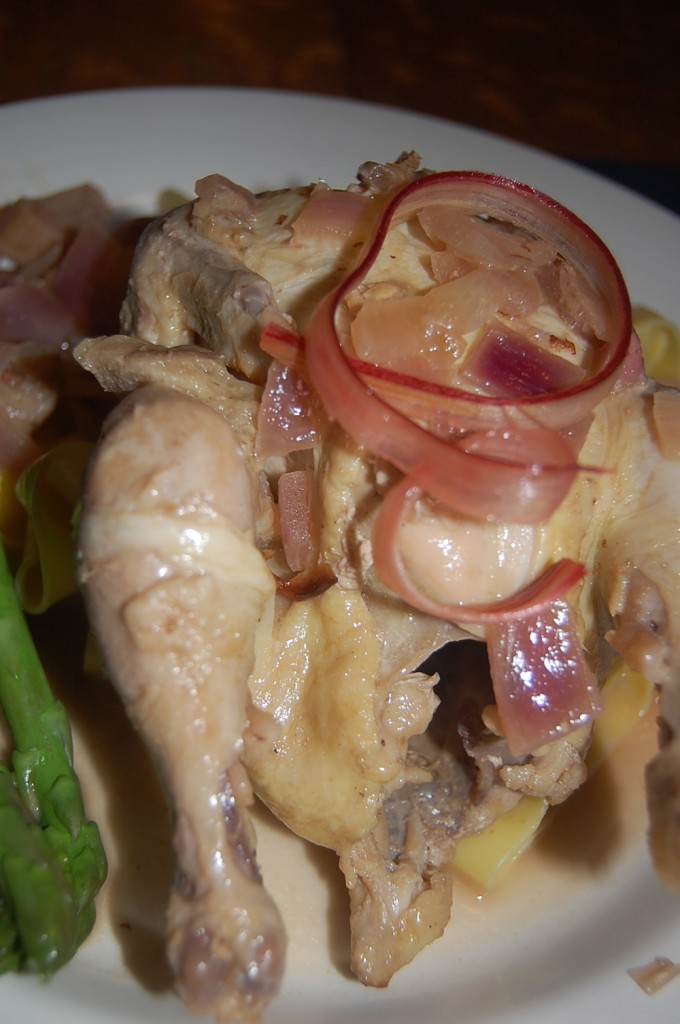
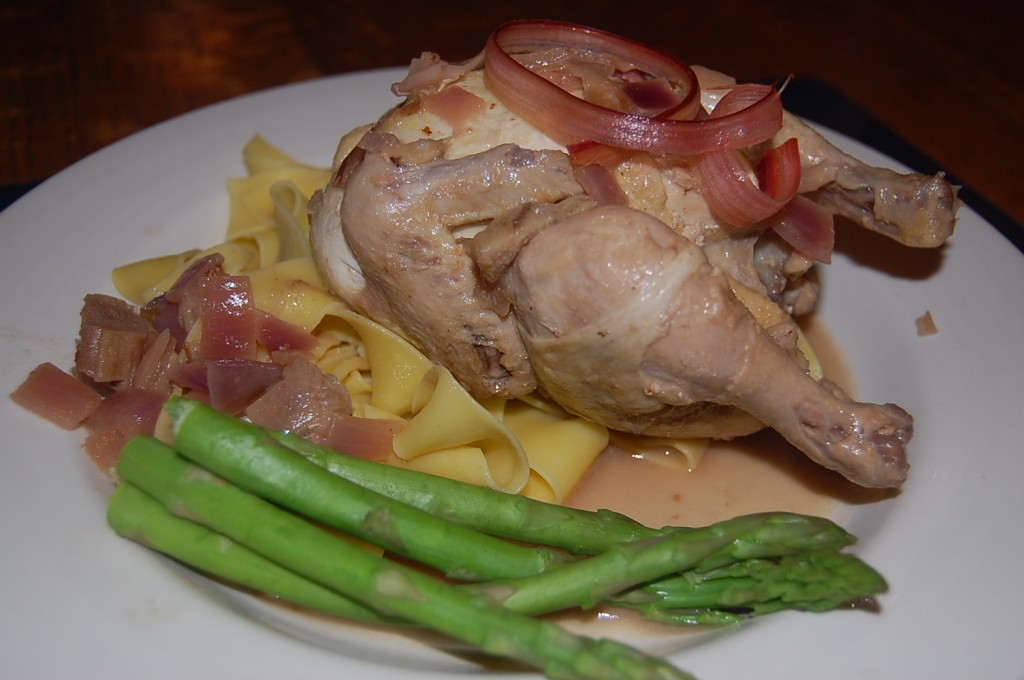
9. Serve each person a quarter of the tagliatelle. Place one Hen next to the pasta, and spoon the rhubarb sauce over all. Serve with asparagus and a delightful wine (I’m a sucker for a nice rosé, personally).