Comfort Me with Avocado (Toast)

The problem with most so-called “comfort foods” is that they are a heck of a lot of work. My mom’s homemade chicken soup is fantastically fantastic, and could beat your mom’s chicken soup in a chicken-soup-battle-to-the-death any day of the week—but if my mom’s not here to make it, it’s just not quite as comforting. The best comfort foods are simple enough to make even when recovering from a three-day fever and an overnight trip to the emergency room. Ladies and gentlemen, I give you avocado toast.

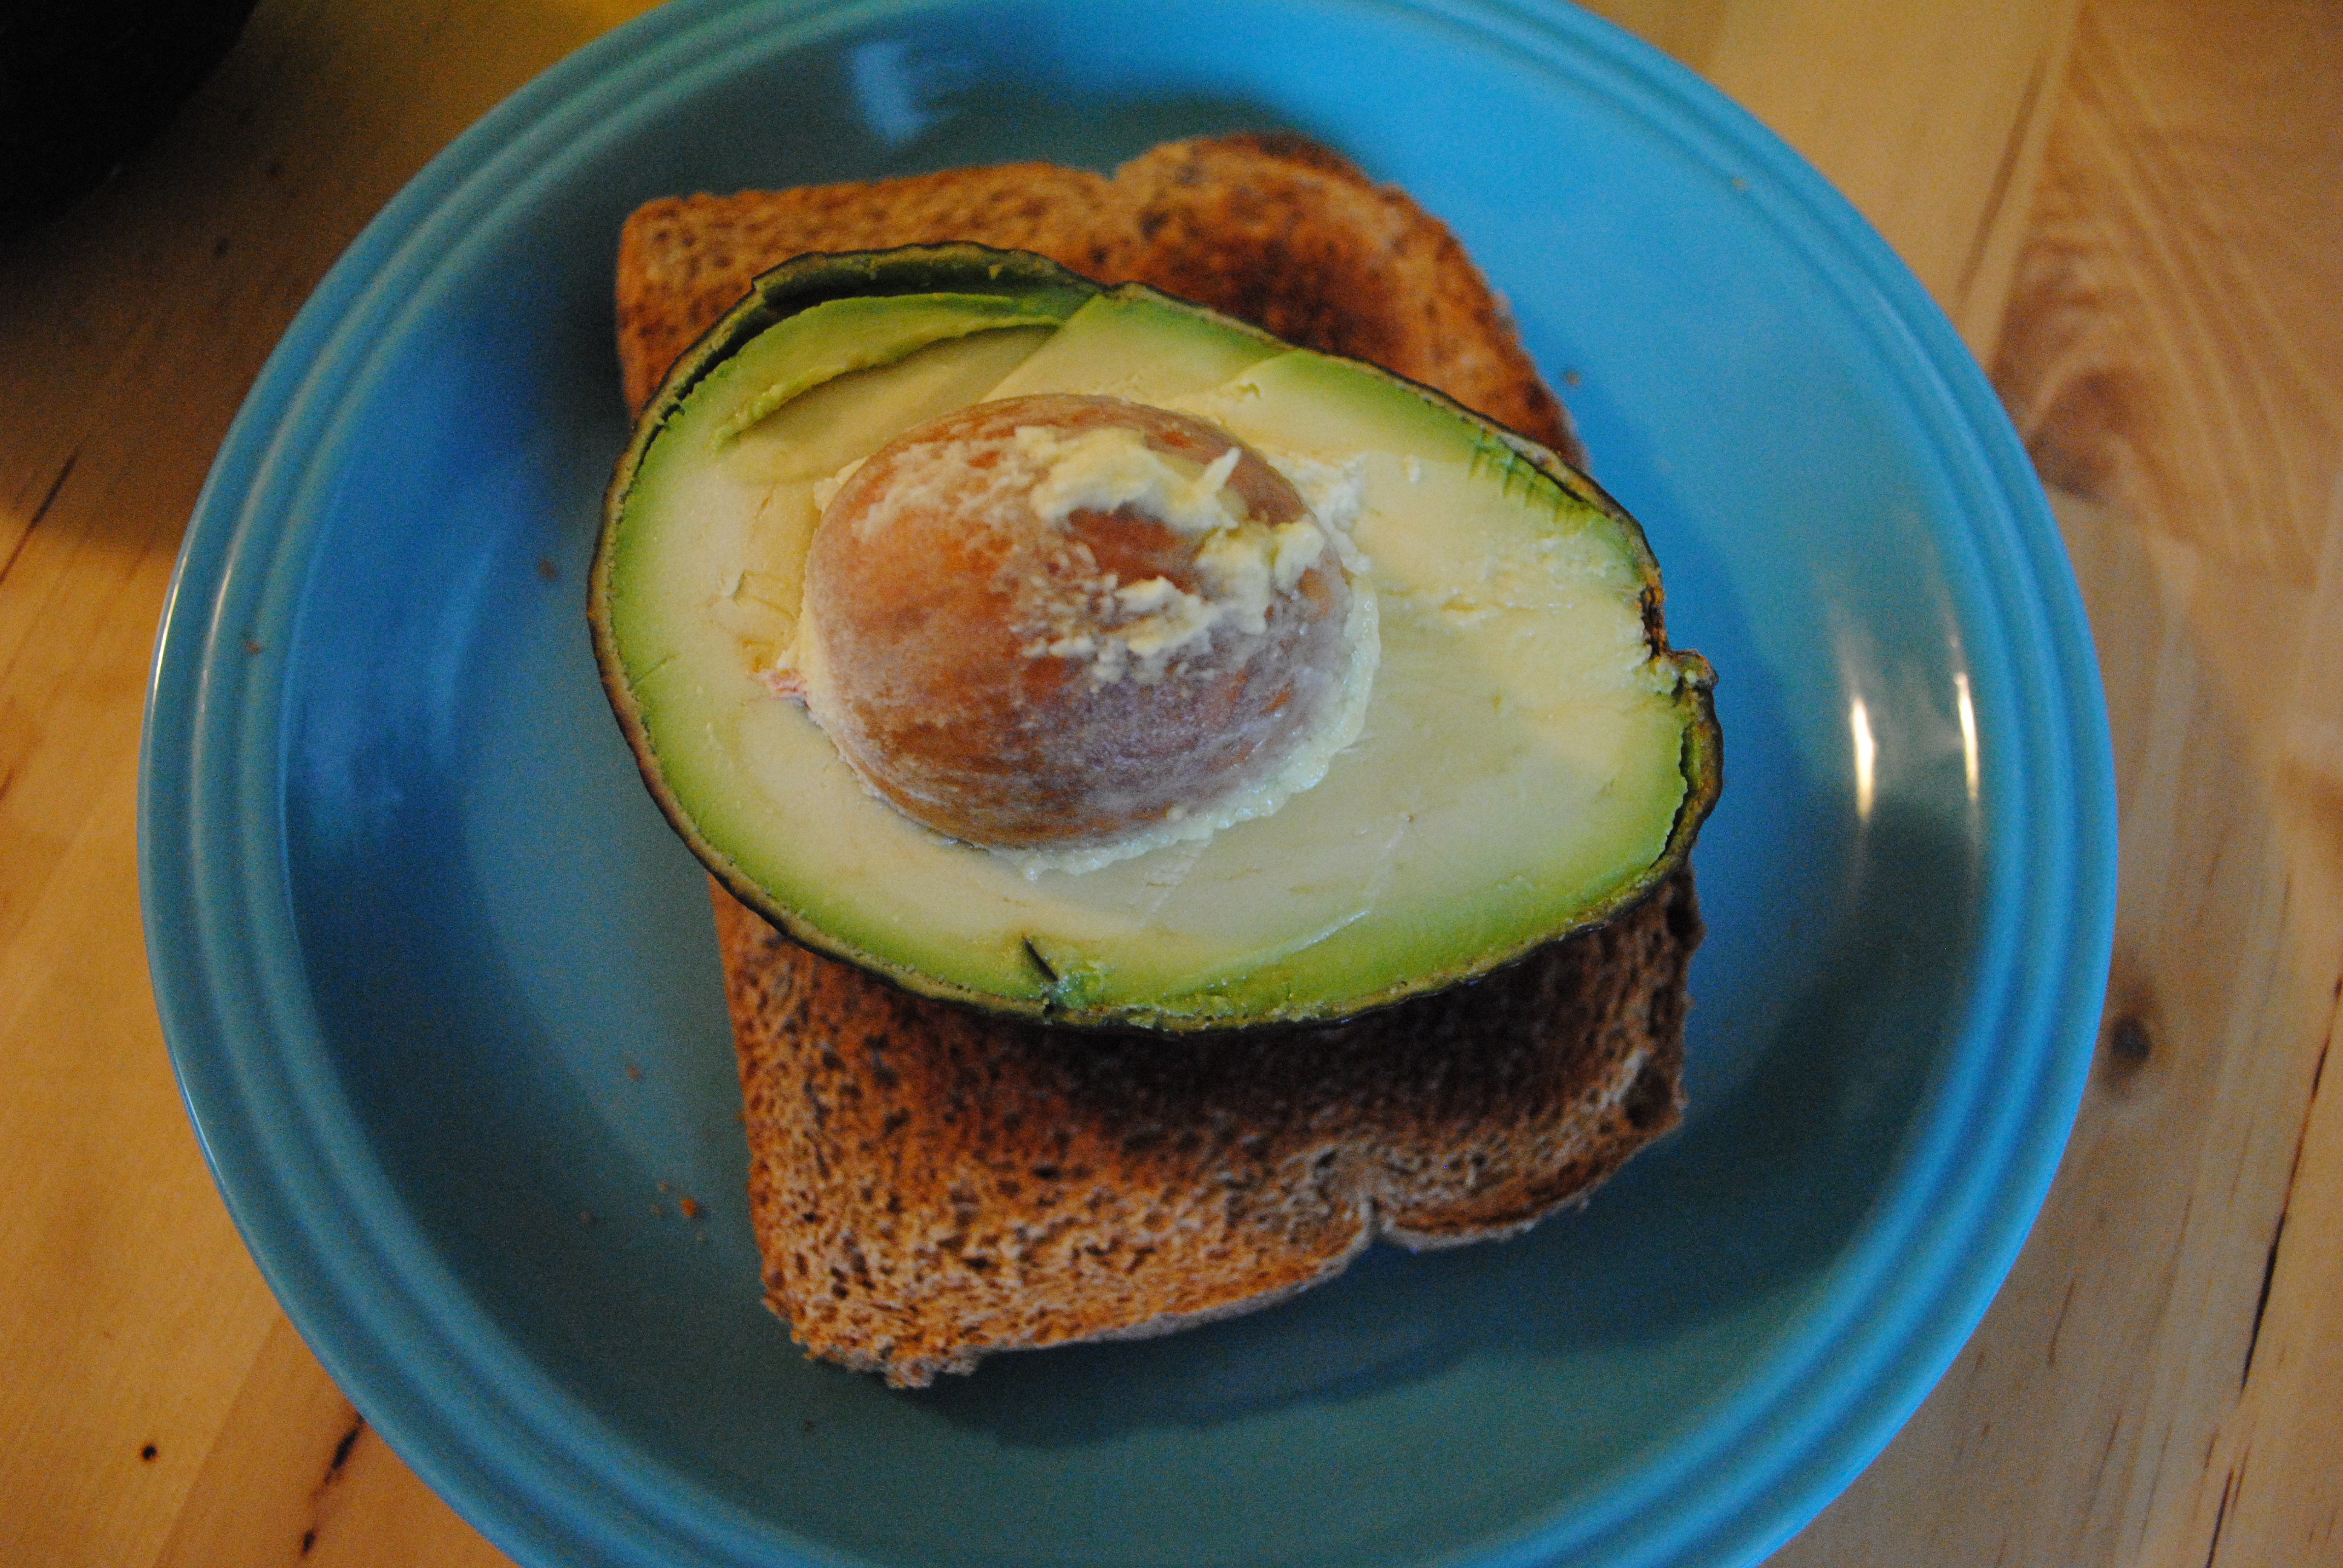
This is not avocado toast

 I woke up early on Thursday morning to get in some last-minute studying for my midterm later that day. Then I swallowed and realized there was no way that was happening. My throat was in excruciating pain. For some reason, perhaps because I think very very slowly in the morning, I decided it was still a good idea to try to sit through my econ lecture on . . . actually, I have no idea what the lecture was on. Half way through I bolted, bags, umbrella and all, and made my way over to student health.

After much debate, the friendly people at student health came to the conclusion that they had no idea what was wrong with me, or with my throat, but that if it got any worse, I should probably go to the emergency room. They did give me a note to get out of my midterm, which, considering I was running a 102 fever at that point was probably a good thing.

So instead of the weekend Dan and I planned, (Eastern Market, Capitol Hill Books, Nando’s Piri Piri Chicken and 50/50), there was much whining (me), comforting (Dan and my mom, over the phone), watching of the Hour, and a midnight trip to the ER on Friday night. Well, the only thing that needs to be said about that is that I was by far the soberest patient in there that night and, unlike the other patient in my room, did not threaten to throw an apple at any of the nurses.

Anyway, I am well on the road to recovery now, which is a big relief. But, since swallowing even water had been a serious problem, I ate nothing on Thursday or Friday. So the challenge of today, the first day I could walk to the kitchen without taking a break to lie down on the couch, was to find something to eat that was delicious, fatty, and easy to make. Enter avocado toast.

This time last year, I was on study abroad in Ghana. It was an all-around wonderful experience that I will try to address more in a future post (I am planning on trying to make fried yams at some point), but one of the few things I did not love about Ghana was the spiciness level of the food. I am not quite as much of a wimp as Dan is when it comes to spicy food, but I lean towards the wimpy side. So one afternoon, when I could not stomach the thought of any more jollof rice, I invented avocado toast.

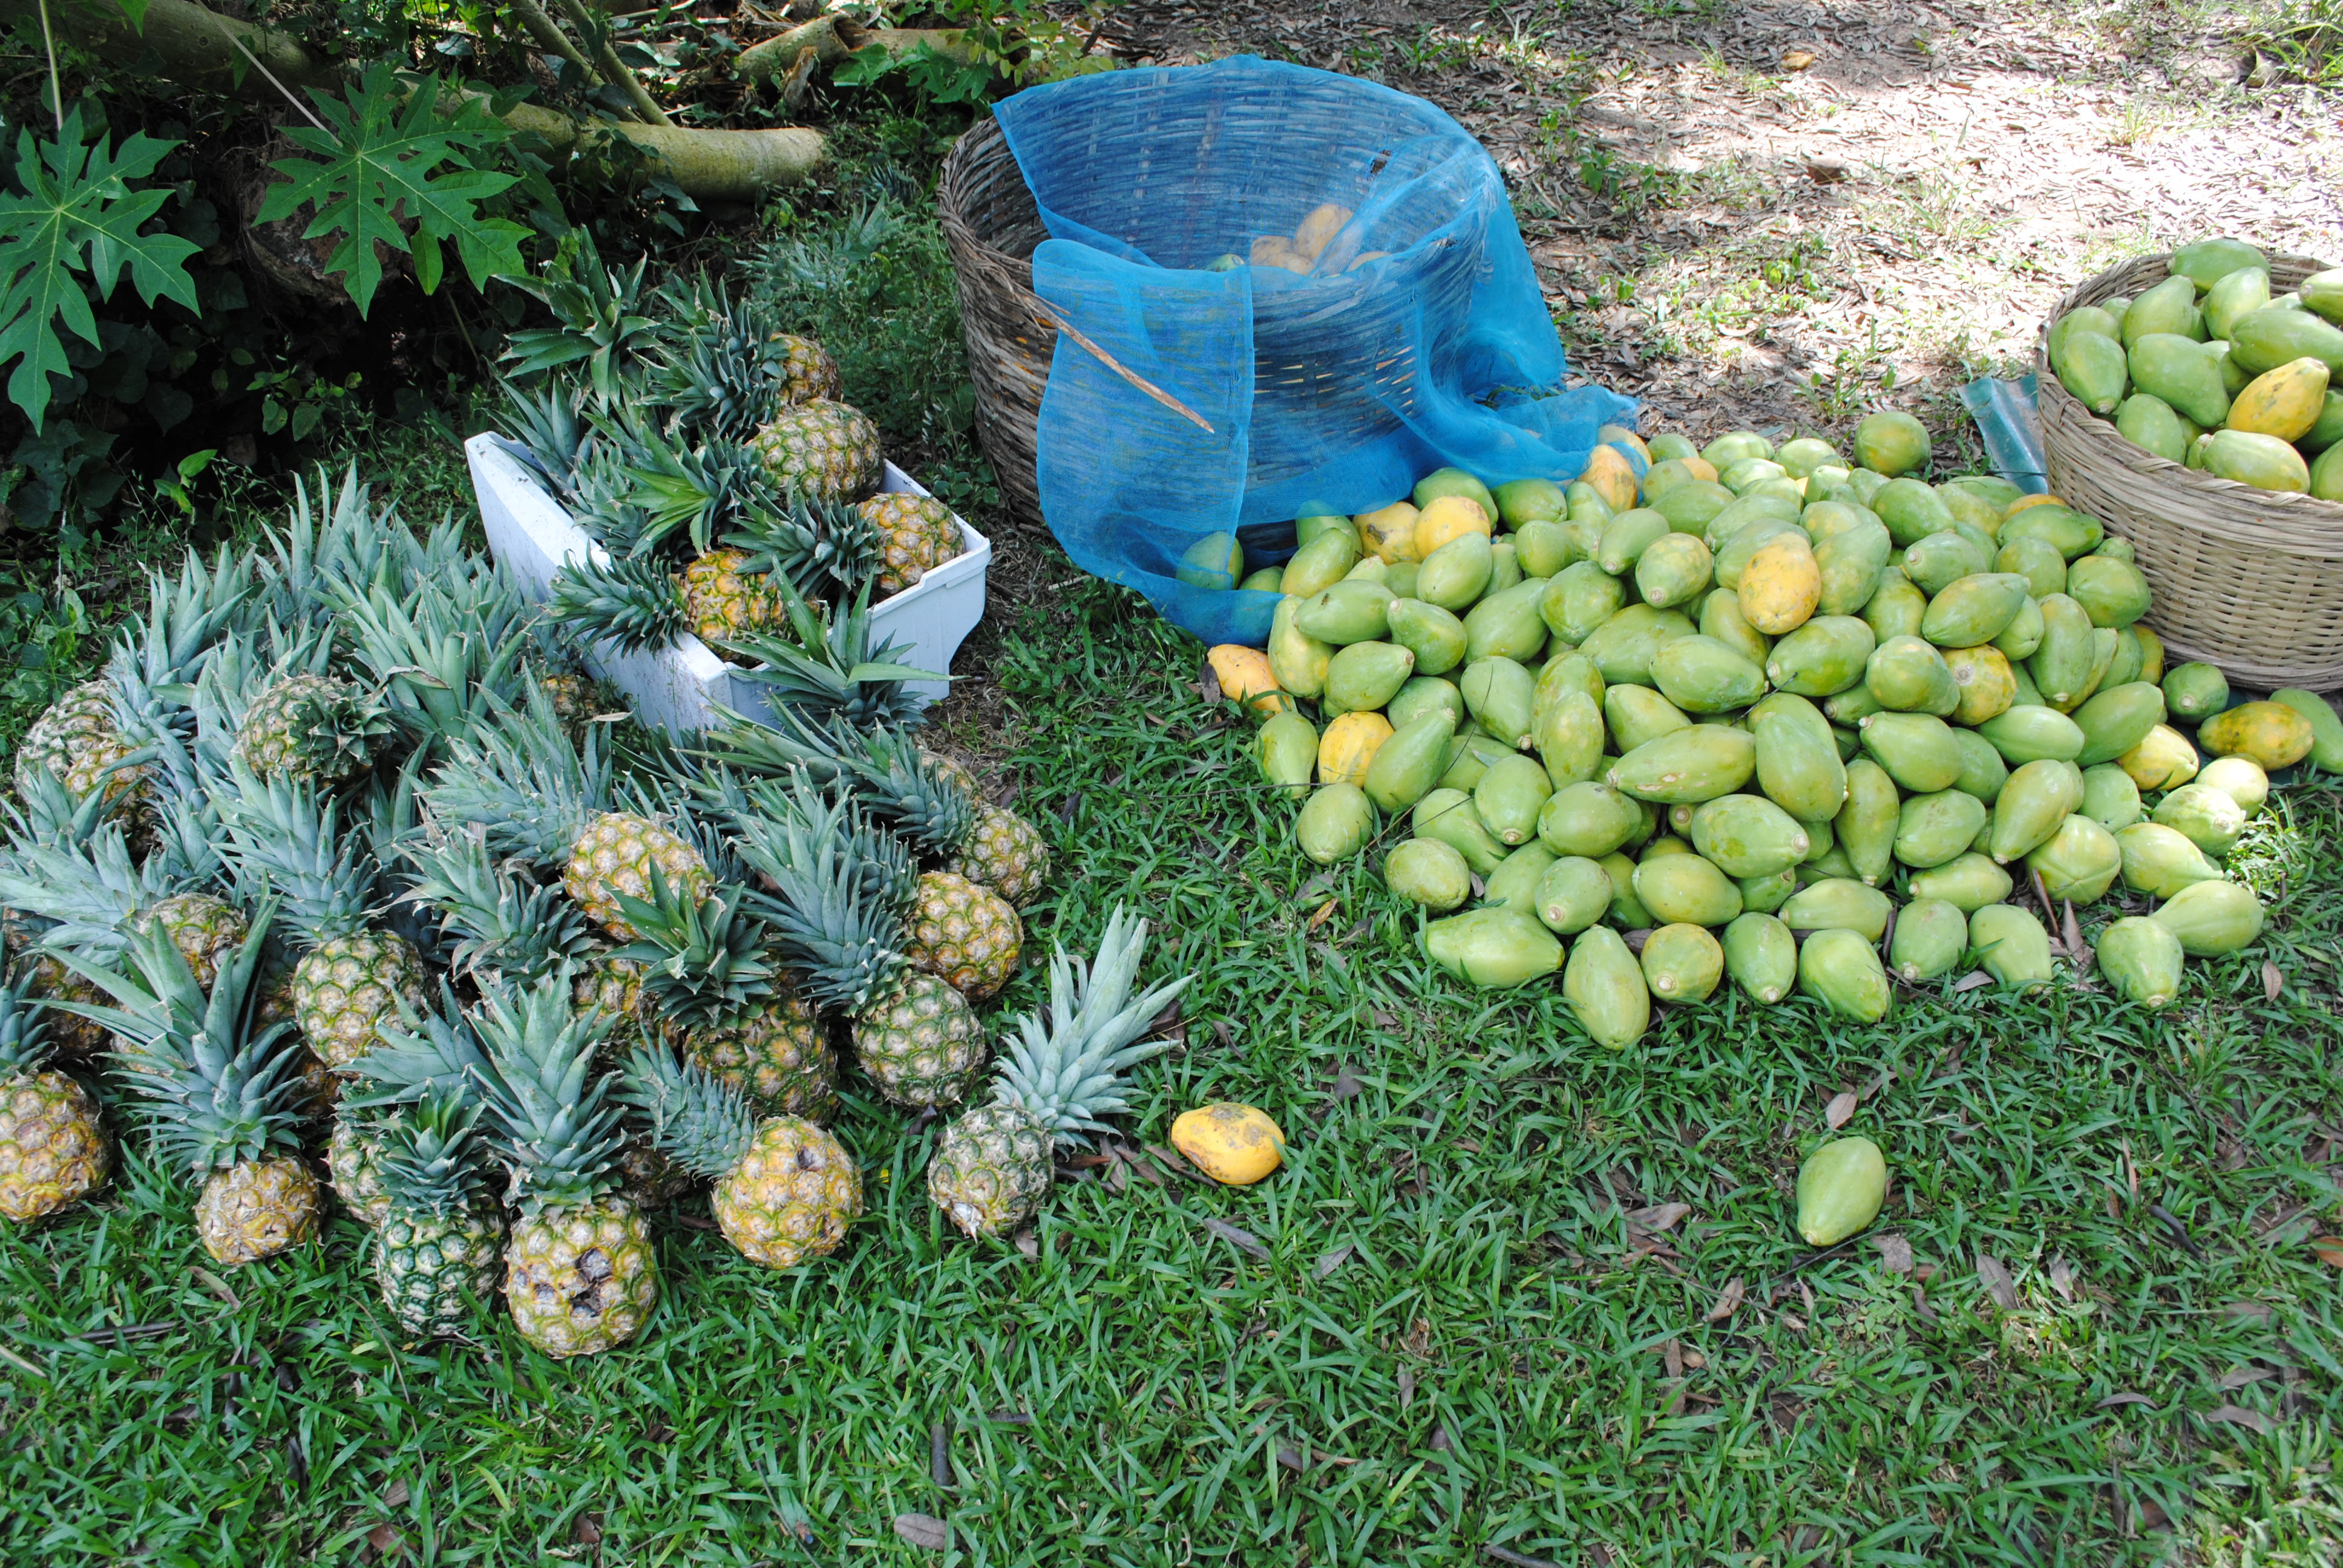
Some other delicious Ghanaian produce: white pineapples and papaya

(I cannot take credit for this as an invention in the grand scheme of things—I am sure avocado toast has been invented by hundreds of people all around the world. But for me, then, it was a new idea, and a pretty cool one at that).

Avocado toast is comforting, high in all the best kinds of fat and fiber, creamy and delicious. Best of all, you can make it sitting at your kitchen table if you’re feeling too weak to stand!

Ingredients

1/2 a small-ish Calafornia avocado- 6 carbs

1 piece of whole wheat bread, toasted- 20 Carbs

About a tablespoon of olive oil

Salt & Pepper

1. Cut your avocado in half. Wrap the other half in saran wrap, with the pit still in it to keep it from turning brown (it won’t keep the exposed part from turning brown, but it will prevent air from getting to the part under the pit and oxidizing it).

2. Slice the avocado flesh horizontally, and then vertically, and use a spoon to scrape it into a small bowl, just like you were making guacamole.
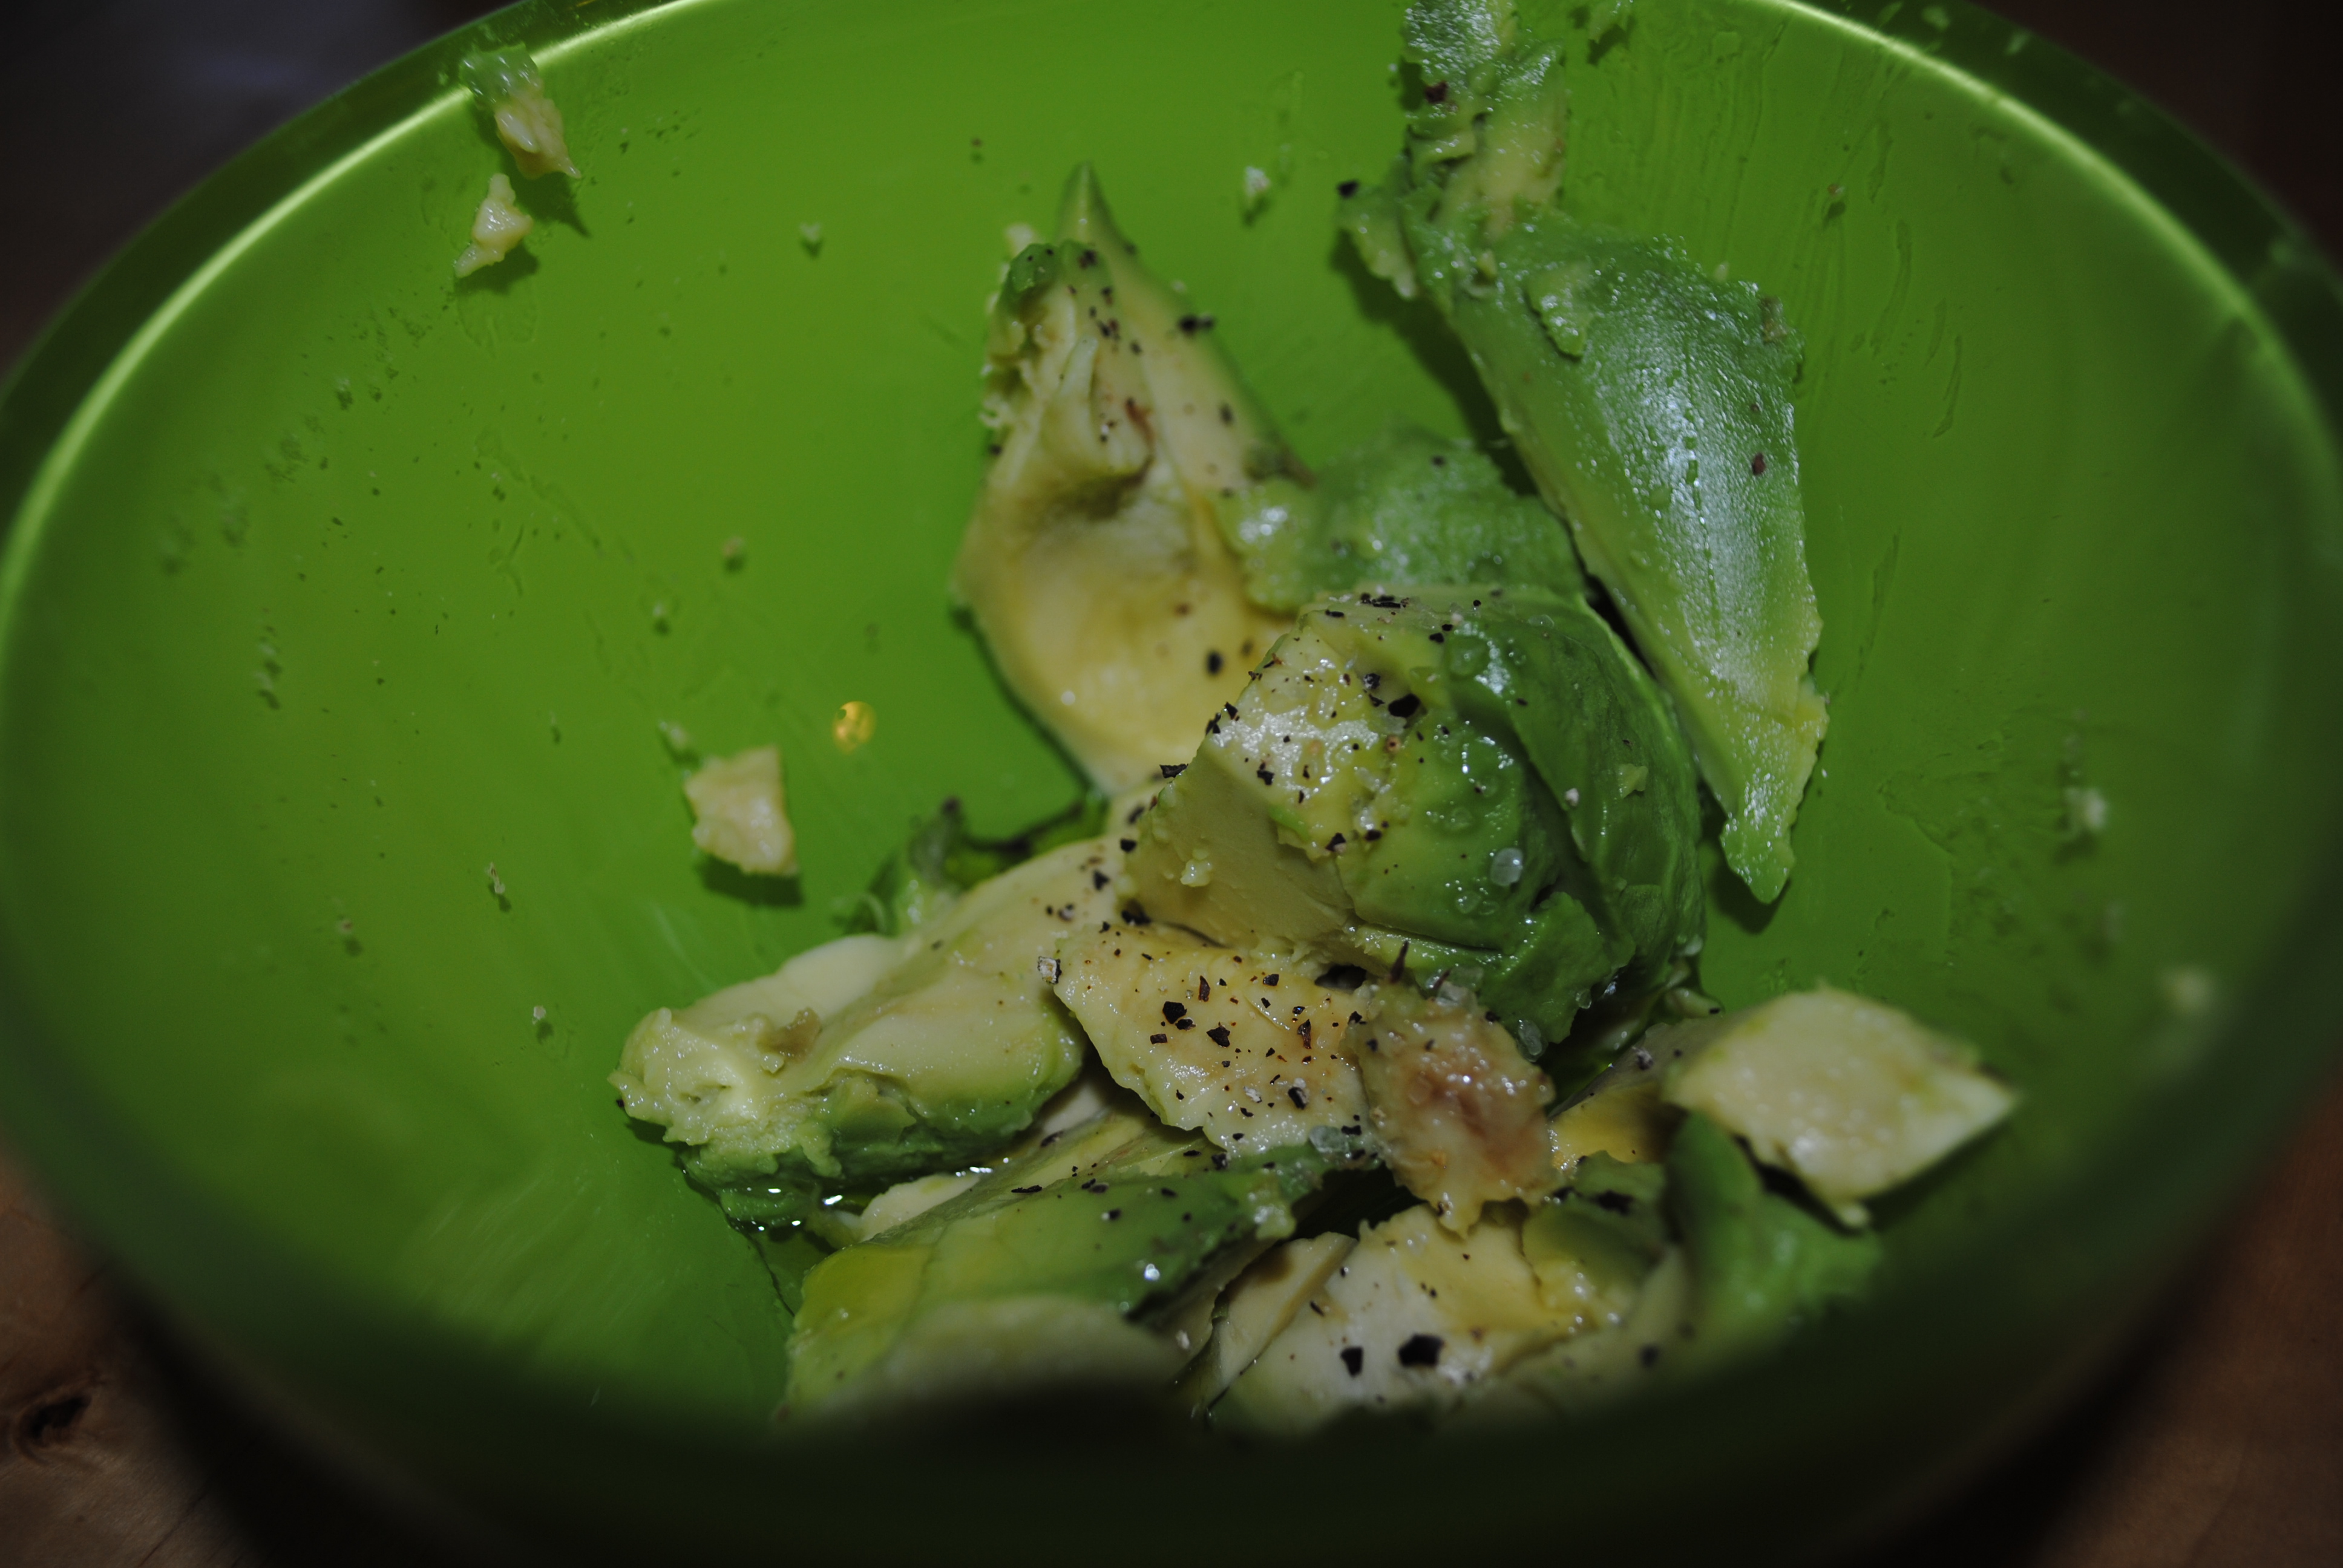
 

3. Pour a tablespoon of olive oil over the avocado. Sprinkle with sea salt and pepper. Mash it all up.

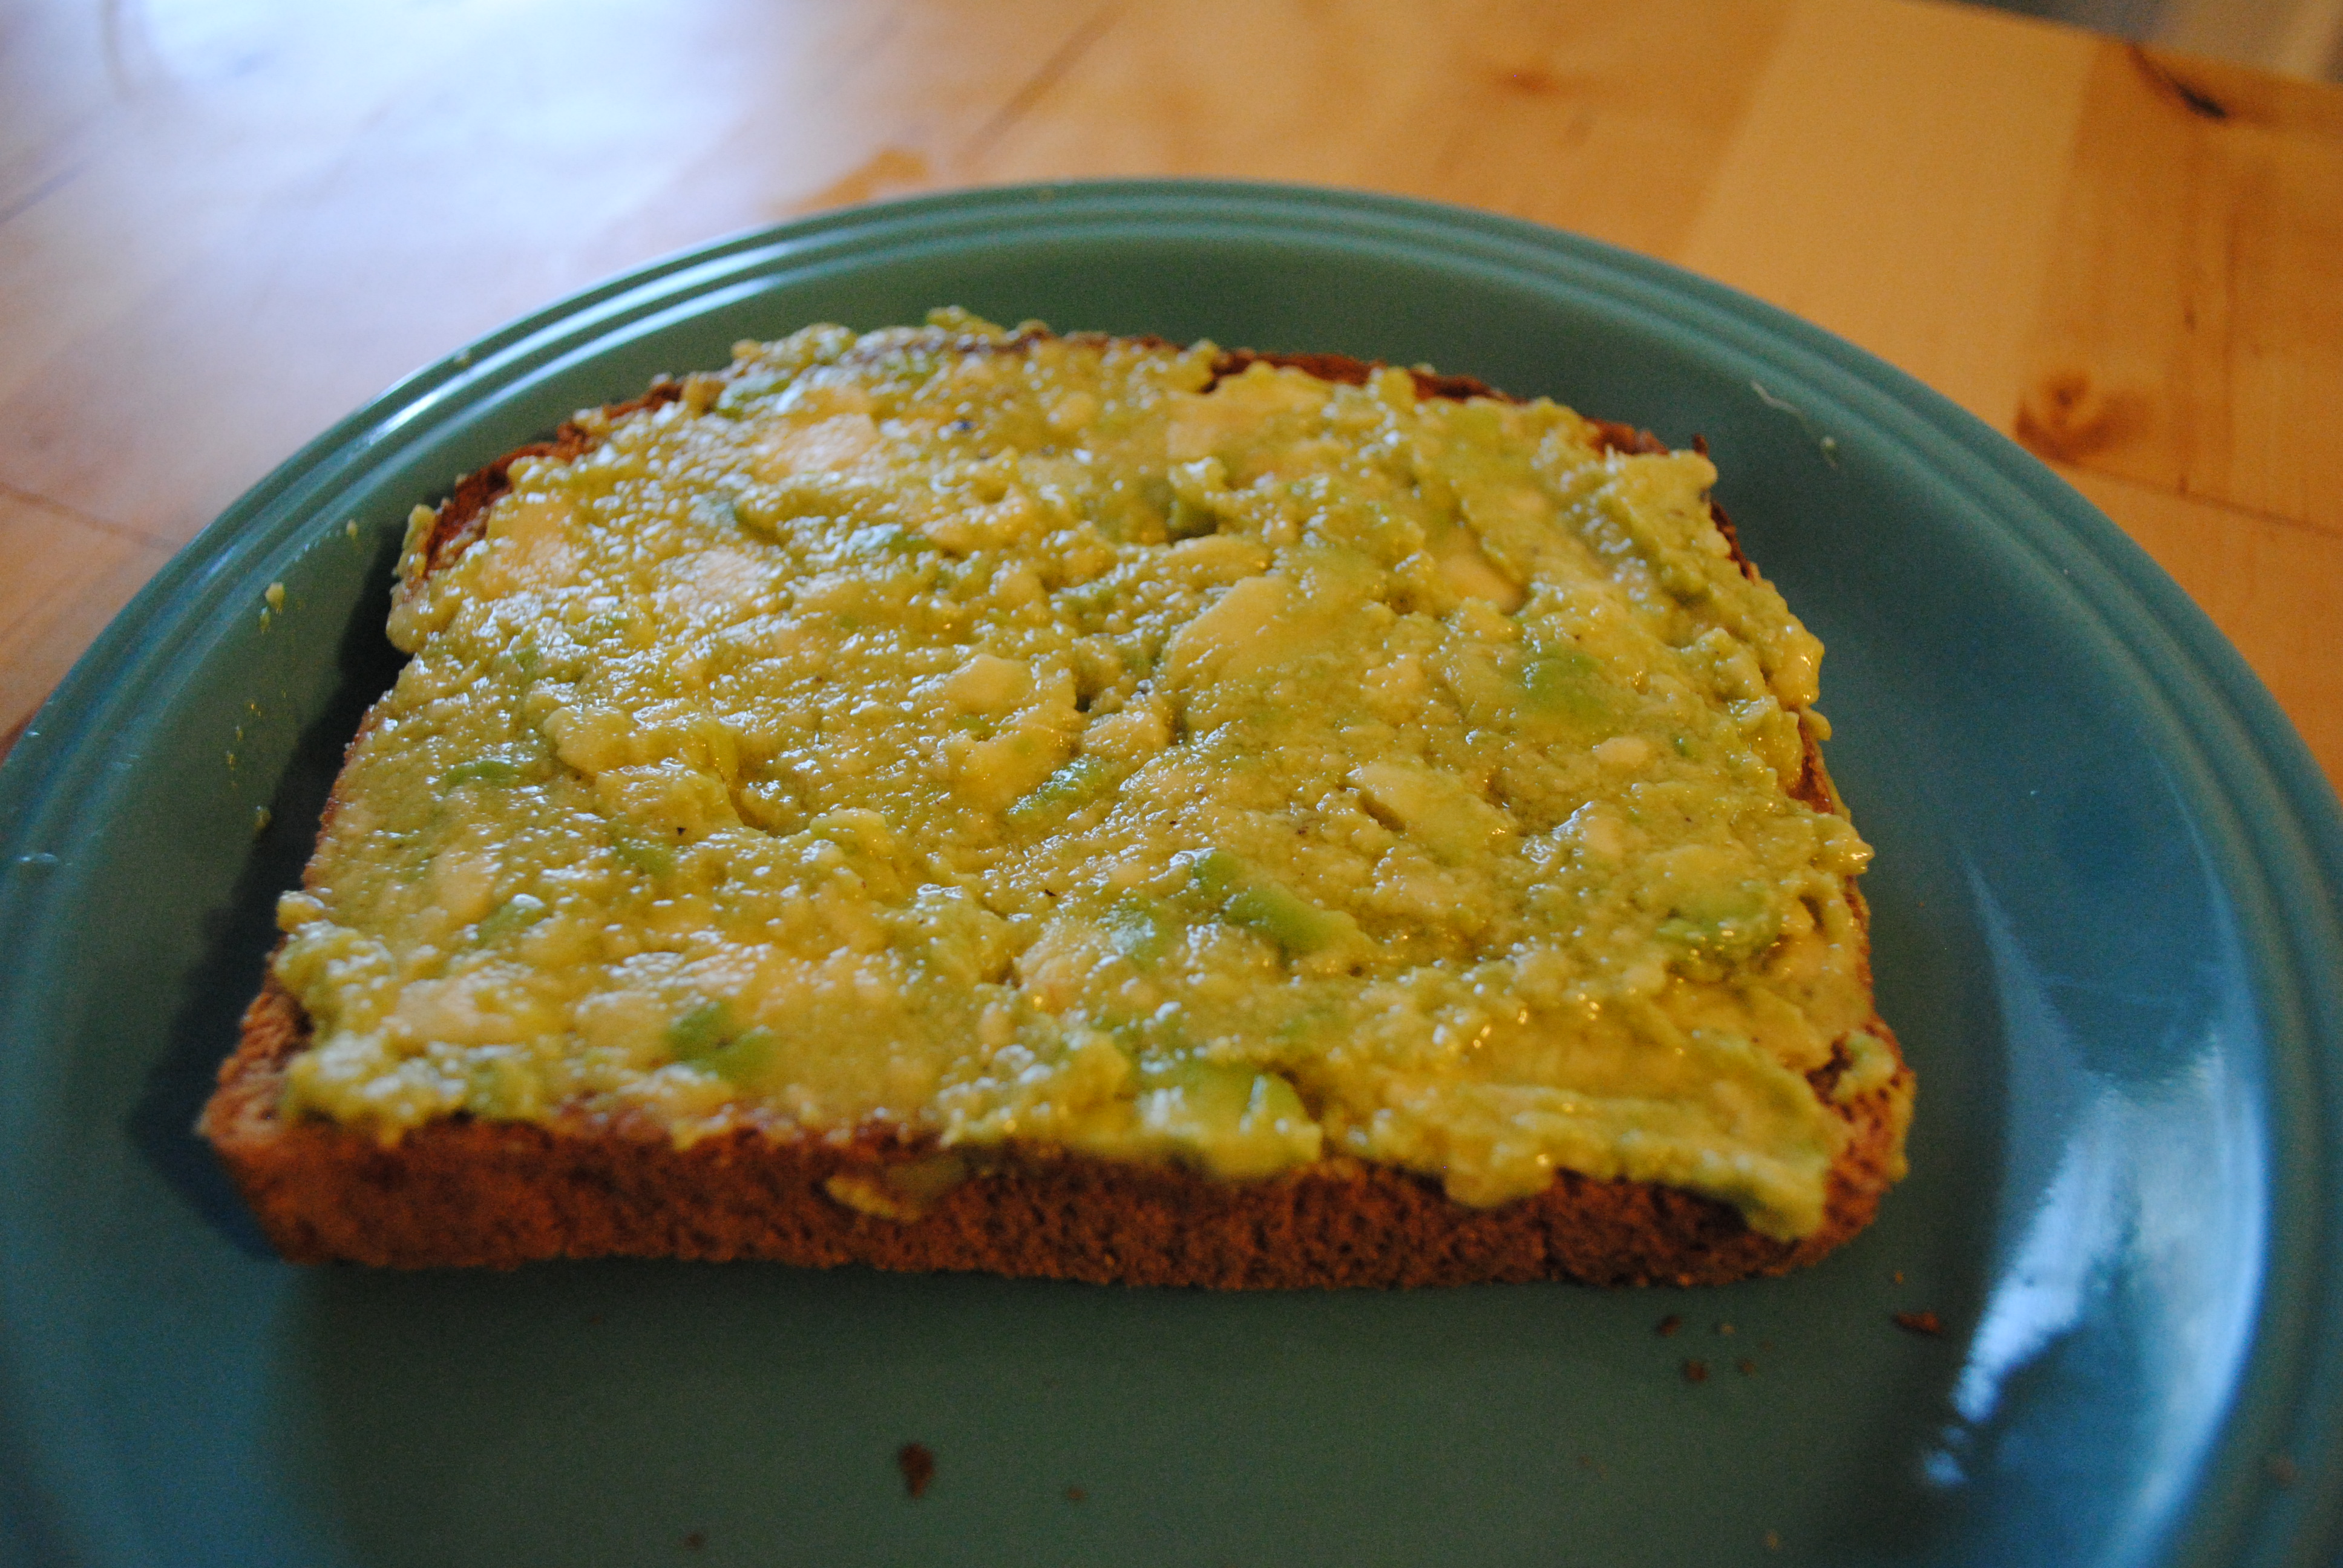
4. Spread the avocado on the toast. And there you go: you’ve got a comforting piece of avocado toast!

Total Carbs: 26

Muppet Toast!


Beet Galette

Here’s the thing about diabetes: it’s pretty darn difficult to fool. Vegetarians can imitate texture with boca burgers and portobello mushrooms, dedicated celiac-sufferers can bake goods from rice flour and nuts, but for diabetics, there’s no tricking the taste buds. With the exception of artificial sweeteners like Splenda, if it tastes sweet, it’s going to raise your blood sugar.

When Dan was first diagnosed with diabetes, my thoughts immediately jumped to other forms of natural sweeteners. I considered baking with honey and sweetening iced tea with agave. No dice. The fact of the matter is that the body just doesn’t care if you’re getting your sweet fix from sugar, honey, agave, fruit juice, milk, or sweet potatoes. At the end of the day it all breaks down into sugar

The good news for diabetics is that, unlike for vegetarians or people with celiac, the food you need to avoid is not absolutely forbidden. Every day, and in every meal, you are allowed to indulge just a little bit. For Dan, one of his favorite indulgencies are beets. Dan is beet mad. One of the few true constants in this world is this: if there is a beet salad on a restaurant menu, Dan will order it. No matter the time, occasion, or preparation, Dan will dive into that salad like . . . well, a guy who really likes beets. Luckily, beets aren’t nearly as high in sugar as some of his other indulgencies, so this is a very easy way to get that lil’ bit of sweetness.

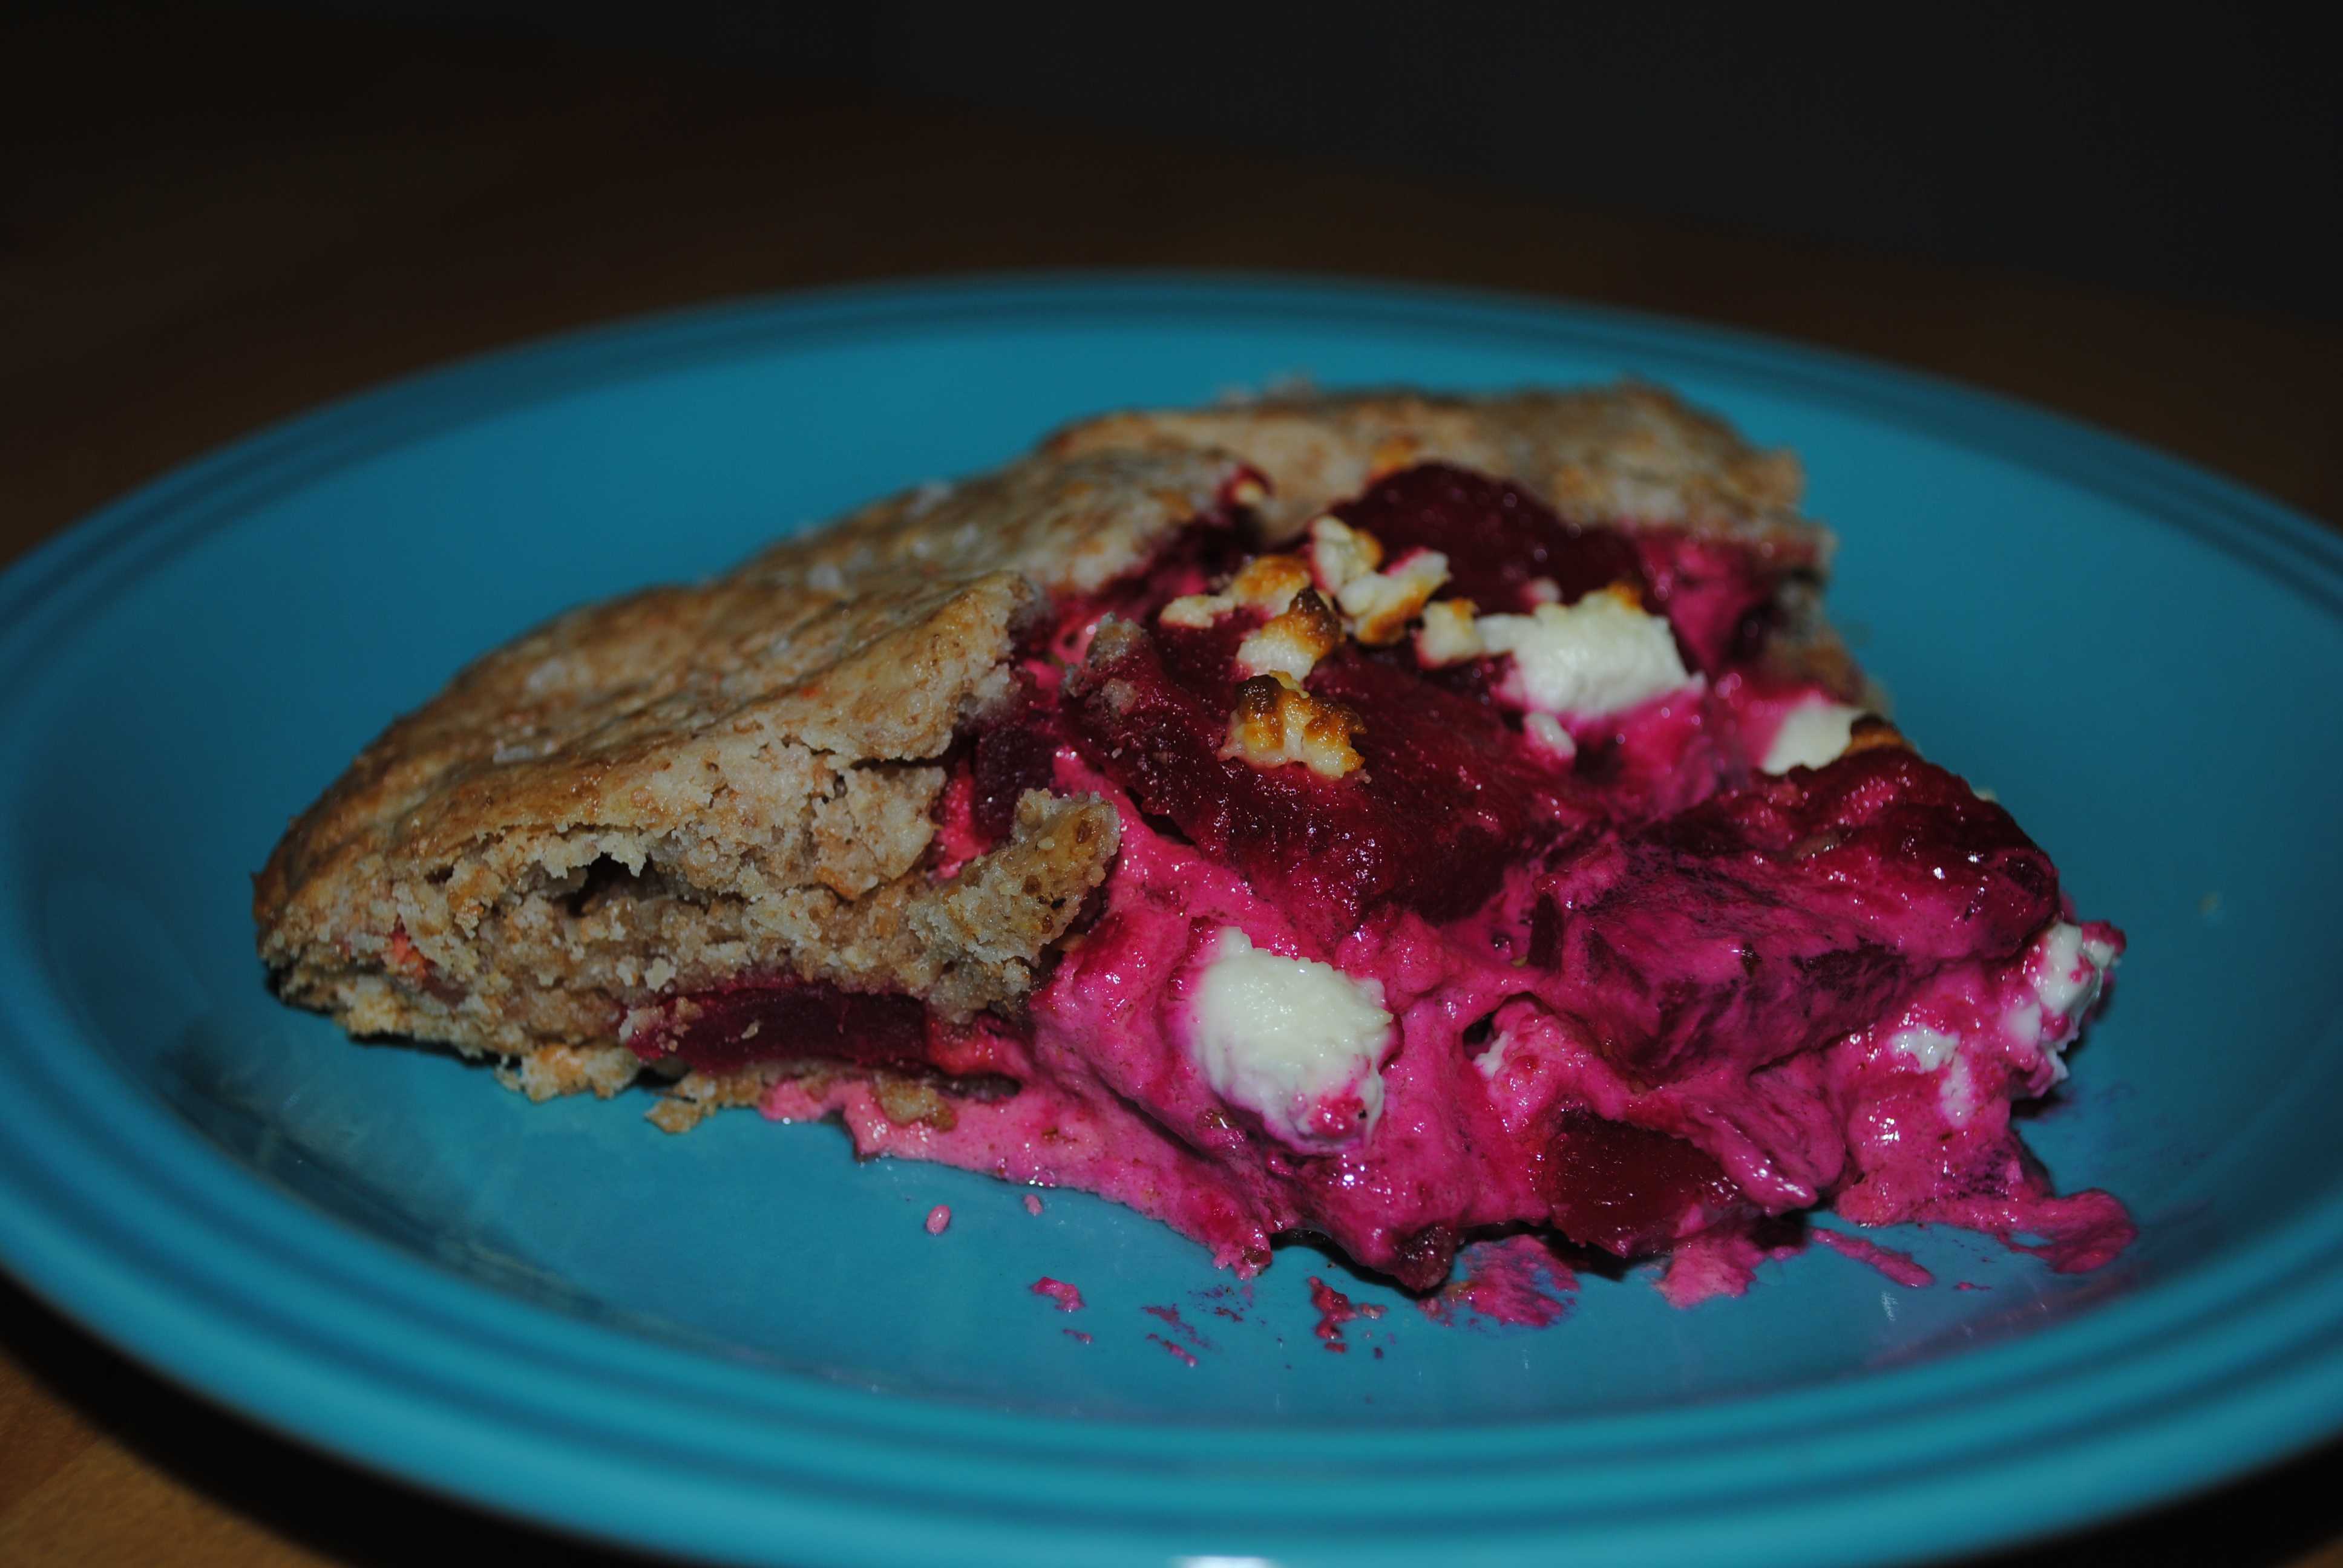
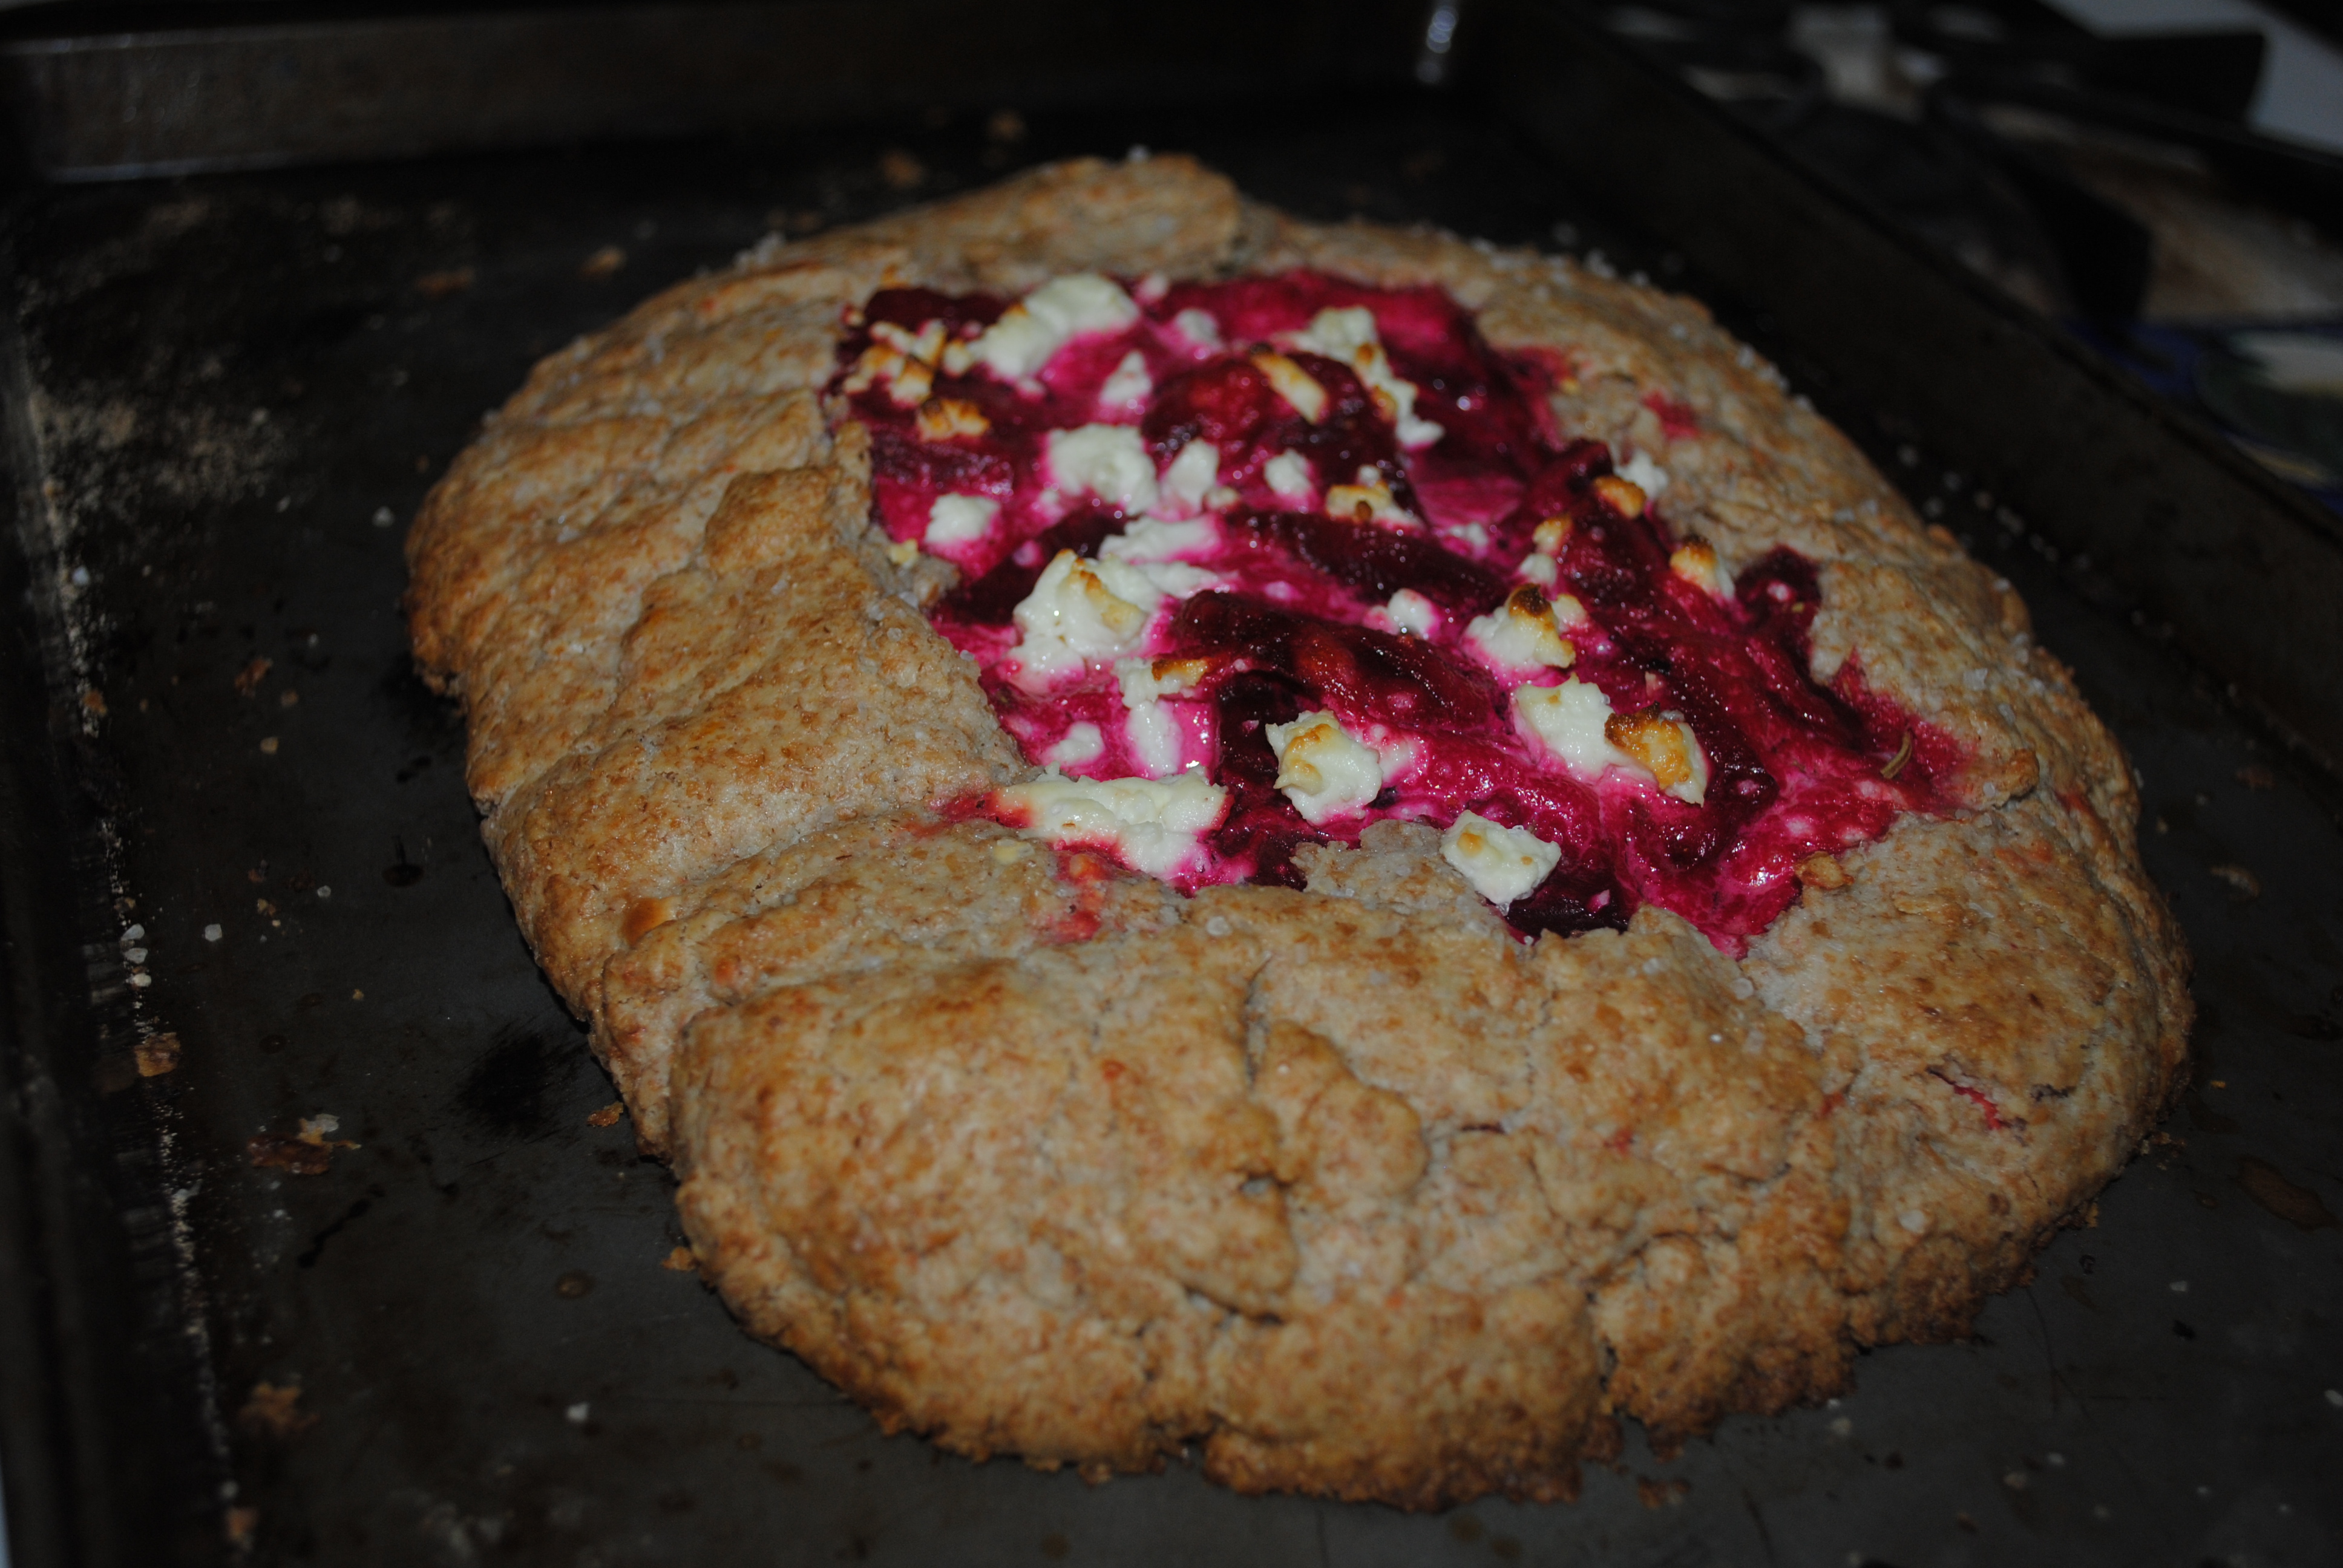
This galette is adopted from Deborah Madison’s phenomenal Vegetarian Cooking for Everyone (a quick plug: I am far from a vegetarian—I don’t even like vegetables all that much—and yet I consider this an absolutely essential cookbook. Please, do yourself a favor and buy it). Madison’s recipe is for a leek-and-goat cheese galette, which is quite delicious, but does little to assuage Dan’s insatiable sweet tooth (an inconvenient problem for a diabetic to have).  I adapted it, using whole wheat dough and beets instead of leeks. Still utterly delicious. Serve with a salad large enough to offset the guilt from the carb-laden dough.

Ingredients

4 beets– 20 carbs (this will vary depending on how big your beets are—when making the recipe, look at the galette and see if the amount of beet you’re putting on it makes sense. Let’s be reasonable here)

3/4 cup soft goat cheese (divided use)

1/2 cup cream

1/2 tablespoon dried rosemary

Sea salt

Galette dough

2 cups whole wheat pastry flour—184 carbs

1/2 teaspoon salt

1 tbs sugar—12 carbs

12 tbs cold, unsalted butter, cut into small pieces

1/2 cu ice water

(Optional: dried rosemary)

1. Preheat your oven to 400 degrees. Remove beet greens (you can throw them away if you want, but they can really be quite delicious, so go ahead and save them for tomorrow) and wrap beets in individual foil packets. The idea is to let them steam while they roast (now that sounds like a contradiction, doesn’t it?), so make sure the packet is closed up enough not to let air escape. Place your cute little beet packages on a cookie sheet to catch any juices that might leak out, and put the whole thing in the oven. Leave it in there for an hour. It may take longer for your beets to cook depending on their size—when a knife slides easily into the flesh, they’re done.

2. Meanwhile, prepare the galette dough. Mix flour, salt, rosemary (if using) and sugar in a large bowl. Next cut the butter into the mixture—either by hand or using a food processor (mine is too small to make dough in, but if yours is large enough feel free. Works like a charm). Make sure to work quickly and not overwork the dough. Your butter needs to stay cold. If you’ve ever made scones before, it’s the same idea. Mix the butter in until it’s in pea-sized pieces.

3. Add the ice water, tablespoon by tablespoon until your dough begins to look like dough instead of like flour. It’s a delicate balance, but I generally err on the side of more water. You want that dough to be able to come together in a ball. (Again, you can do this in a food processor. Leave the processor processing as you add water—you’ll be able to tell when it coalesces into dough).  Gather the dough together in a disk, and refrigerate for 15 minutes if your dough is feeling warm and the butter seems soft (or if you need more time for your beets to finish cooking).

4. As your beets heat up and your dough cools down, move on to the filling. Combine four ounces of goat cheese with half a cup heavy cream, 1/2 a teaspoon rosemary and a pinch of salt. Stir until the mixture looks like a very thick, heavy, velvety cream. Keep waiting on those beets.

5. When your beets are finally done, take them carefully out of the oven. Don’t turn the oven off. Those foil packets are full of steam waiting to escape at this point, so be careful as you open them. Peel your cooked beets, discarding the peels. Slice the beets into thin slices and combine them with the cream/goat cheese mixture.

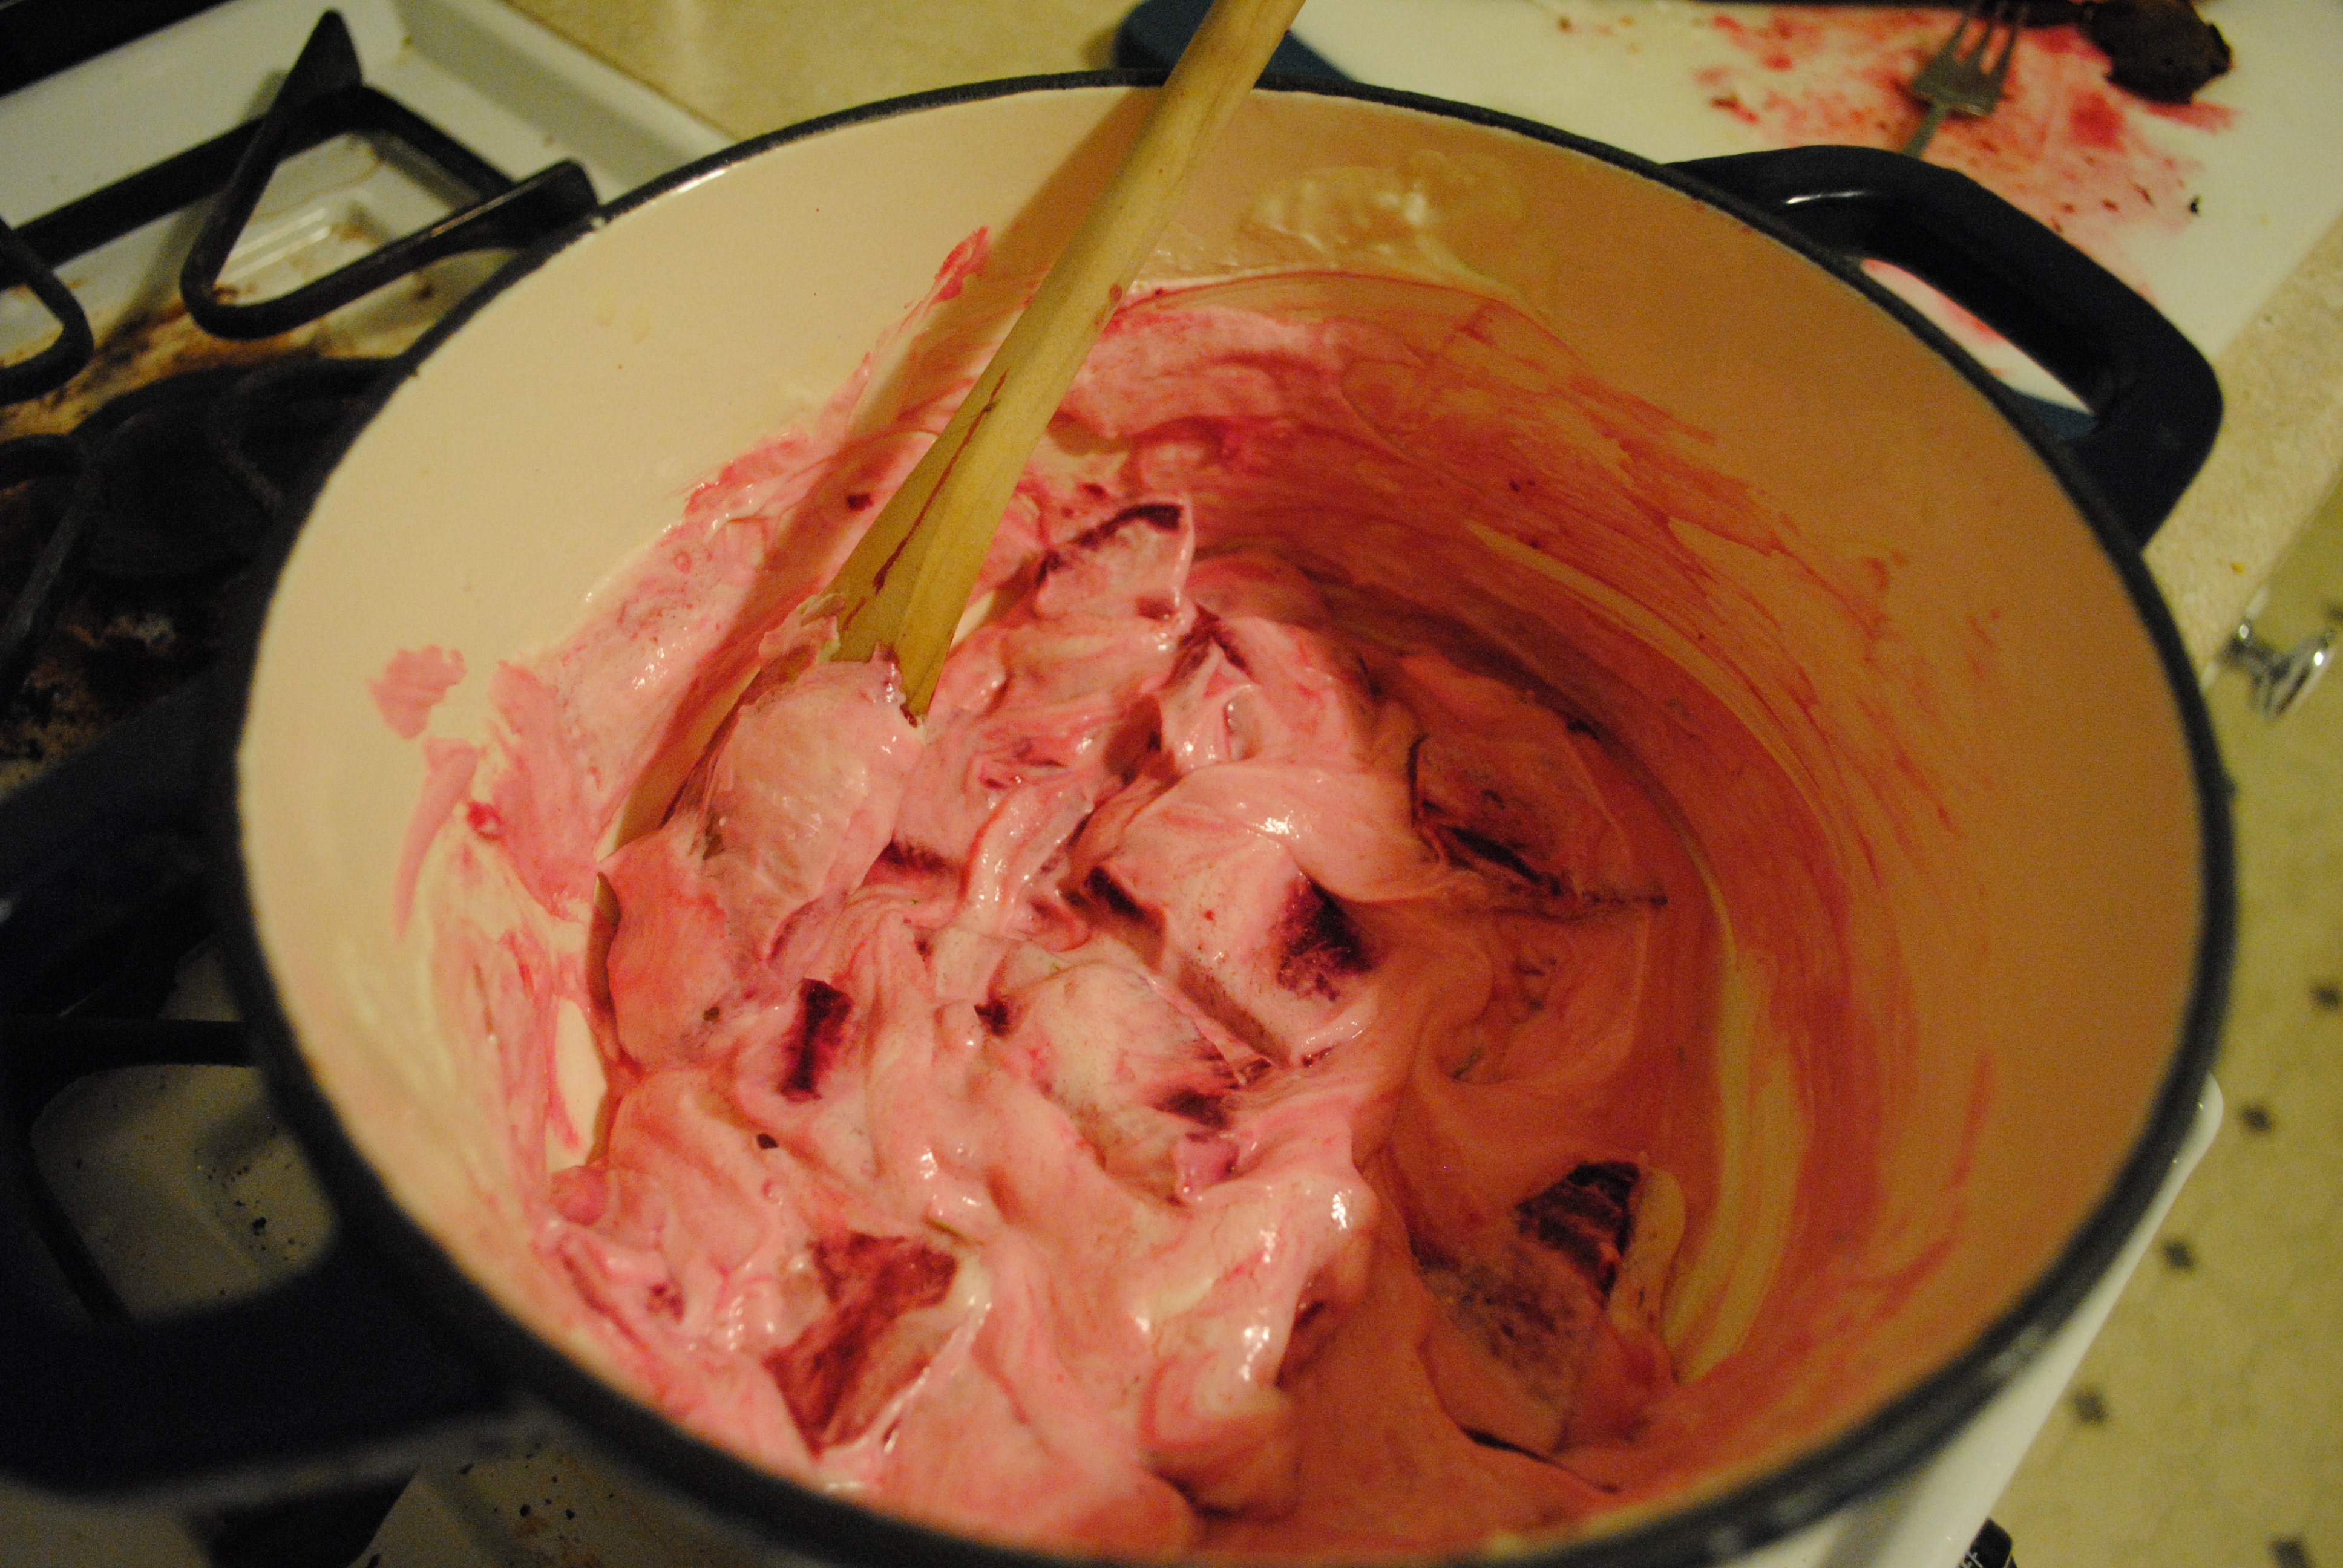
Beet and goat cheese mixture

6. Roll out the galette dough into an irregular circle (mine usually end up looking more like a square than a circle) about an 1/8 of an inch thick.

7. Spread the beet and goat cheese mixture out in the center of the galette, leaving about a 2 inch border around the edges. Crumble some of the remaining goat cheese over the top of the beet mixture. Fold the edges up and over the beets, and brush the dough with one beaten egg plus 1 tablespoon water (don’t use all of it—just enough to get the edges wet and give the dough a sort of sheen). Sprinkle some chunky sea salt on the dough to give it a pretty sheen and bake for 25-35 minutes or until the crust is browned.

Total Carbs: 216

Carbs per serving: 54

Welcome!

“I write this sitting in the kitchen sink. That is, my feet are in it; the rest of me is on the draining board, which I have padded with our dog’s blanket and the tea-cosy.”

        – Dodie Smith

In truth, as taken as I am with my new kitchen sink (the entire kitchen is new, not just the sink, and when I say new, I mean new to me because the kitchen, and the entire house, are decidedly old), it would not be a very good place to sit.

But, like Cassandra Mortmain, I find myself nervous to be starting a new project. There is nothing quite so unnerving as an empty journal, except, as I am coming to learn, a blinking word-processing screen. Nonetheless, I have steeled my courage and intend to make a solid go of it.

To help me along, I have years of learning at my mothers apron-strings, a few years of cooking for the same sweet and silly man, and a heavy shelf of cook books.

You may notice that between the creamy (and sometimes terrifying) La Bonne Cuisine de Madame E Saint-Ange, the delectable Julia, and the essential Joy, two cookbooks for diabetics managed to sneak in. And that, reader, is the real reason for this blog.

Several months ago my boyfriend Dan was admitted to the intensive care unit two days before we were supposed to leave on a long-planned and much anticipated vacation to Canada. I was going to try skiing again, he was going to persuade me to go snowshoeing, we were going to eat our way through Montreal. Instead, he found himself hooked up to an IV in New York Presbyterian. Dan was diagnosed with Type I diabetes. He took it with his usual cheery forbearance, while my mom accompanied me on an eating tour of the city (à di la and the Clover Club in Brooklyn, Veselka, Grand Central Oyster Bar and the Mermaid Inn in the city) and held my hand as I cried on the couch. Well. Not my bravest hour.

After our week of not-vacation, Dan and I came home to Washington, DC and I realized I was going to have to change the way I cook and the way we ate. I’ve always loved to cook, but cooking on a student’s schedule and budget in a student’s kitchen meant I ate a lot of pasta. When people ask what my go-to dish is, the answer is Pasta Puttanesca without the slightest hesitation. I could cook pasta puttanesca in my sleep, blindfolded.

(This is not as much of an achievement as it sounds. It is absurdly easy: gather together olive oil, tinned anchovies, 1 can of diced tomatoes (make sure the can contains tomatoes and only tomatoes–none of that basil and herb nonsense), some coarsely chopped pitted black olives, red chili flakes, a head of garlic and a jar of capers. Fill a big ol’ pot with water on top of the stove and pour some salt in there. Set the water to boiling–you will be done with the prep work before it comes to a boil. Cut up the garlic–you can slice it or mince it depending on your mood. I say two to four bigass cloves for two people, but know that I like garlic. Take some of the anchovies (I use about half a tin for two people, but I am anchovy mad. Normal people would probably like about 3 anchovies for this) and chop them roughly. Pour olive oil into pan over medium heat, and dump the garlic, anchovies, and three shakes of red pepper flakes in there. Heat for a while, until the anchovies start to look melt-ed-y. Open and drain your can of tomatoes, then dump that in there too. Ditto the olives, and oh, let’s say a tablespoon of capers. Put your pasta in the big pot when the water comes to a boil and cook to package instructions. Taste taste taste the pasta sauce; add salt as needed. The sauce can hang out on low, covered, while the pasta cooks. Drain the pasta, pour the sauce on top. A meal that actually takes less than thirty minutes, and costs less than ten dollars! Horrah!)

Dan is a Type 1 diabetic, which means butter, bacon and cream are still a-okay for him at the moment. The two things that really needed to change were the amount of carbs and vegetables we ate. Half of Dan’s plate is supposed to be filled with vegetables at every meal (this is actually true for all Americans, but this was the first time we were taking it super seriously). Dan takes insulin before every meal and bikes around the city nearly every day, so carbs can still play an important role in meals. Gone, however, are the days of a big pot of pasta counting as dinner.

The first few weeks, I carefully counted out the carbs in every meal. This was completely new territory for both of us. A big fan of butter and cream, I have never exactly been the type to think too closely about the nutritional value of a meal. Now I do, for every meal. It’s gotten easier for me to estimate the amount of carbs in a meal, and it’s easy enough to see whether half of a plate is taken up with vegetables.

It’s getting easier, but it hasn’t been easy. Dan’s diagnosis has absolutely challenged me as a home cook. I decided to start this blog to keep track of the food we eat and our efforts to find comforting, healthy options. I’m going to post recipes and nutrition facts as often as I can.

As a disclaimer: please don’t assume that these recipes will be perfect for every diabetic. Listen to your own doctor and your own common sense. Nutrition facts come from calorieking and should be taken as guidelines, not God’s own word.

Here’s hoping!